From time to time, we all have wanted to include an image or picture of something in a Google Document. Google has made it very easy to make this happen.
- Drag and drop an image anywhere on the Google Document
- Insert an image by URL
- Search ‘free to use’ images from Life and Stock Images databases
There are three ways to include a Google Drawing you have made in your Google Document. The most obvious method is just taking a screen shot of the final version of the Google Drawing and inserting it in the Google Document. The only disadvantage of this would be if an edit was made to the drawing after the screenshot was taken. An updated screenshot would then have to be inserted on the Google Document.
Below are two different ways an ‘always current’ Google Drawing can be included in a Google Document.
Inserting a ‘Non-Existing’ Google Drawing
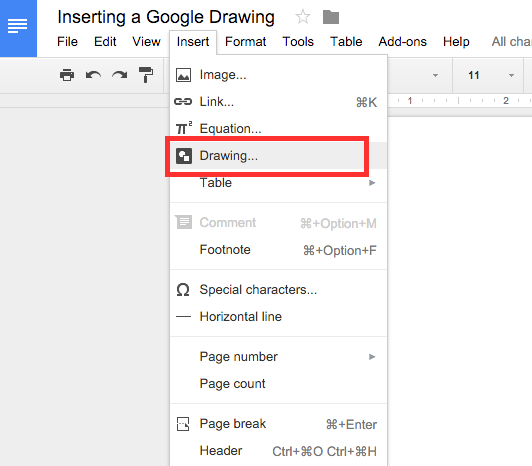
STEP 1:
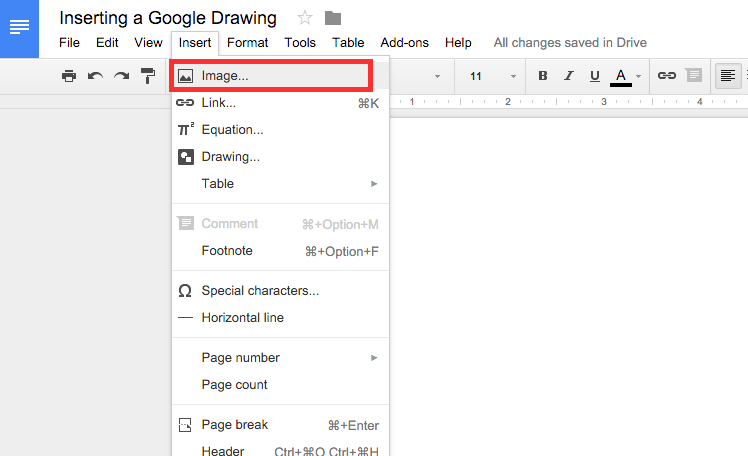
Place your curser where you would like to create your Google Drawing. Then select Drawing under the Insert menu.
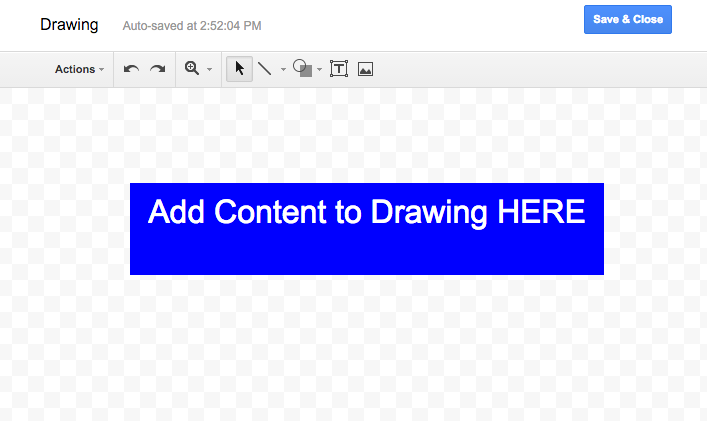
STEP 2:
A drawing pop up window will appear for you to add your content. Once you are done, you will then hit the Save & Close button. It is important to know that a separate Google Drawing file will not be created since you are making this ‘drawing’ in the Google Document. You also cannot grab a pre-existing Google Drawing this way.
**NOTE: You are able to made edits to your drawing after you have saved it to the Google Document. To do this, double click on the drawing and the popup window will reappear.
Inserting a ‘Live’ Pre-Made Google Drawing
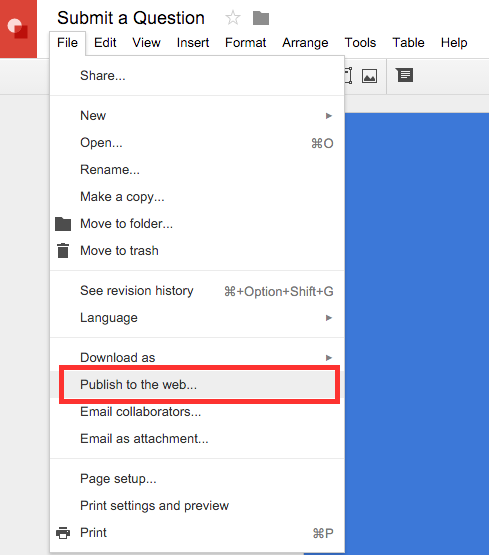
STEP 1:
Open the Google Drawing that you want to include in your Google Document. Then select, Publish to the Web under the File menu.
STEP 2:
Select the blue Publish button. This will provide a link that will be available for anyone in the world to view.
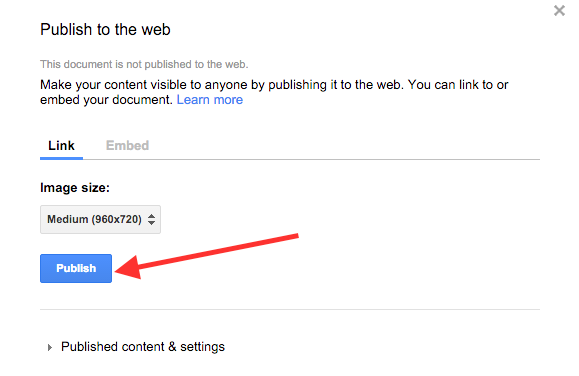
** NOTE: You do have the ability to restrict who can see this information under the Published content & settings drop down menu at the bottom of that window.
STEP 3:
Copy the provided link.
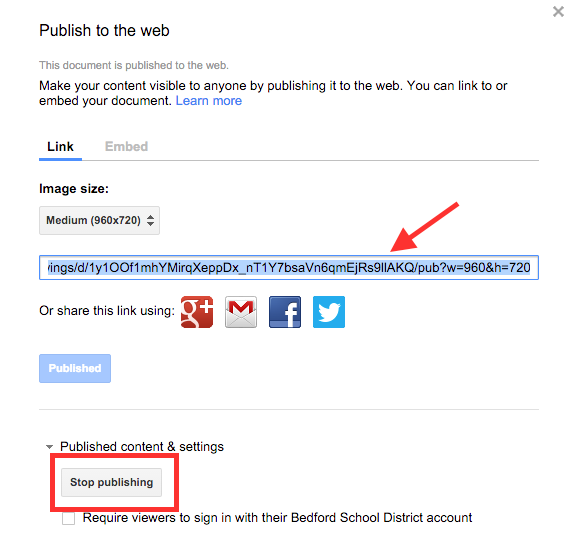
** NOTE: You have the ability to stop publishing your file, however if you ever choose to do this, you would loose the linked Google Drawing in your Google Doc.
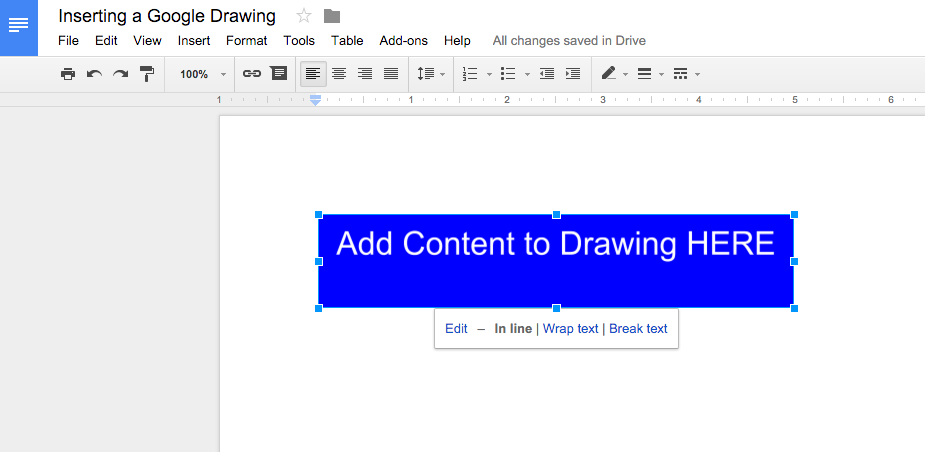
STEP 4:
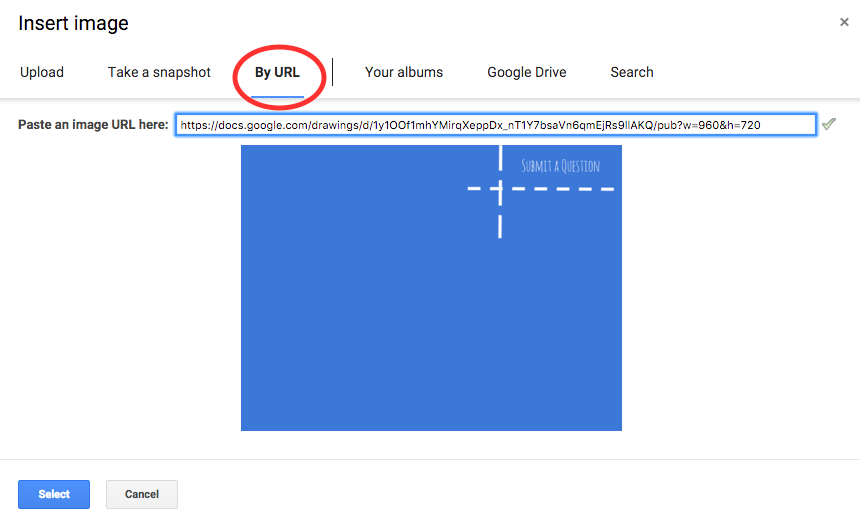
Select Image under the Insert menu and paste the link to the Google Drawing. Your drawing will then be embedded in your Google Document.
As always, if you ever have any questions – you know where to find me. Happy Drawing…