Flip Your Content in 90 seconds?

As a society, we are obsessed with consuming and creating content in short videos. As a digital learning specialist, I am wondering if we are reaching our learners and those that support our learners in the most effective way. Do we need to start thinking differently with how we present information? How can we do this in a safe manner that is efficient?

I co-teach a couple of graduate level courses for educators, and decided to start exploring alternatives to using TikTok. (Yes, our high school students are using the tool daily. Some of our teachers also use the tool for their own purposes or personal interests.) I decided to create a TikTok like video with Flip, using the mobile app. I have to be honest, I have been using Flip for years now, but I have not really focused much of my attention with the mobile app. While you don’t get all of the filters, songs and features that TikTok has to offer, Flip does do a good job in helping content creators make TikTok like videos.

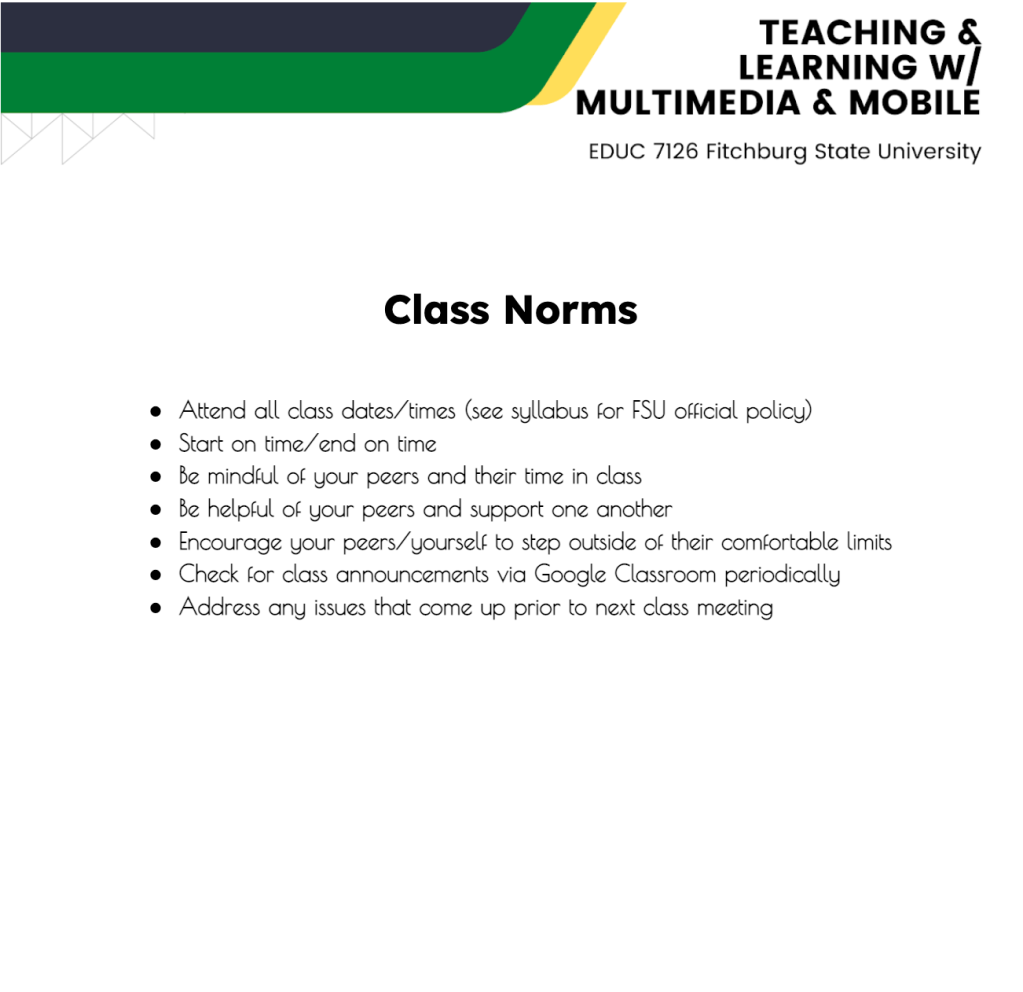
Below are the norms from the class. You decide which you would prefer to interact or consume with:

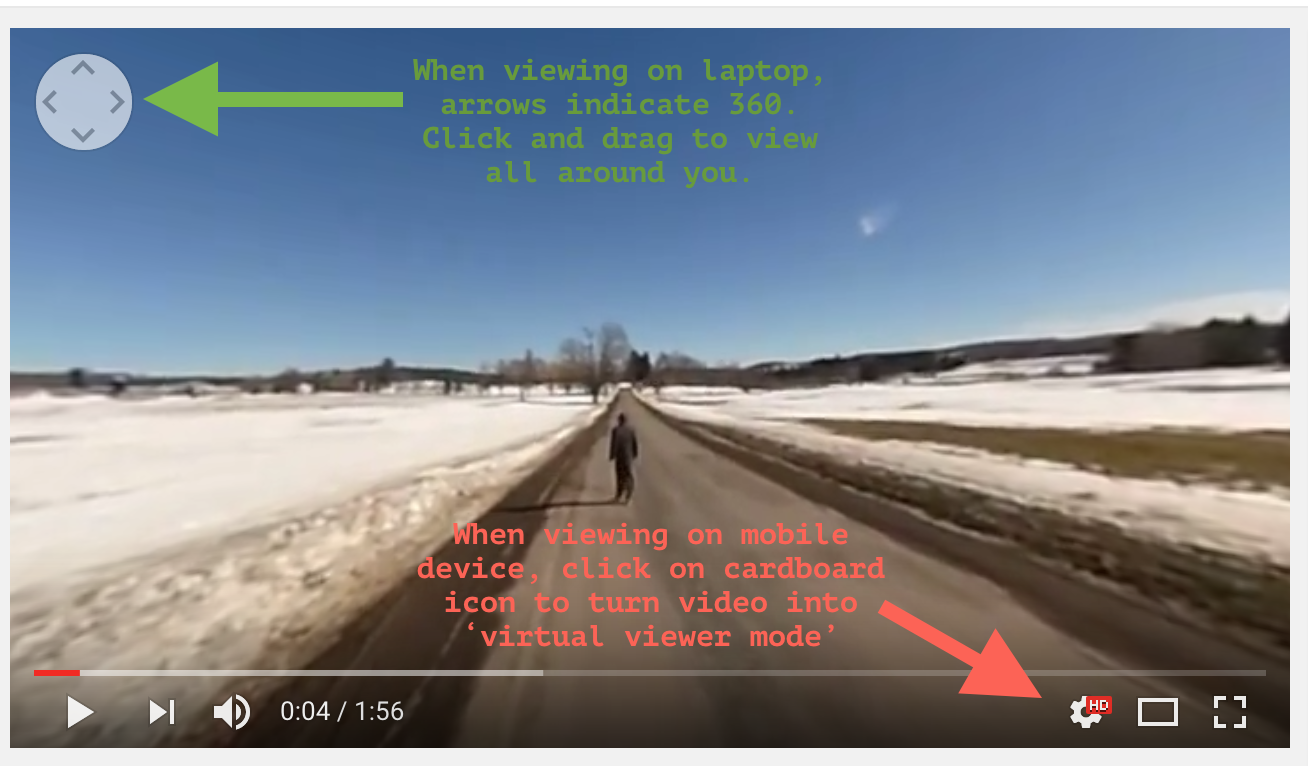
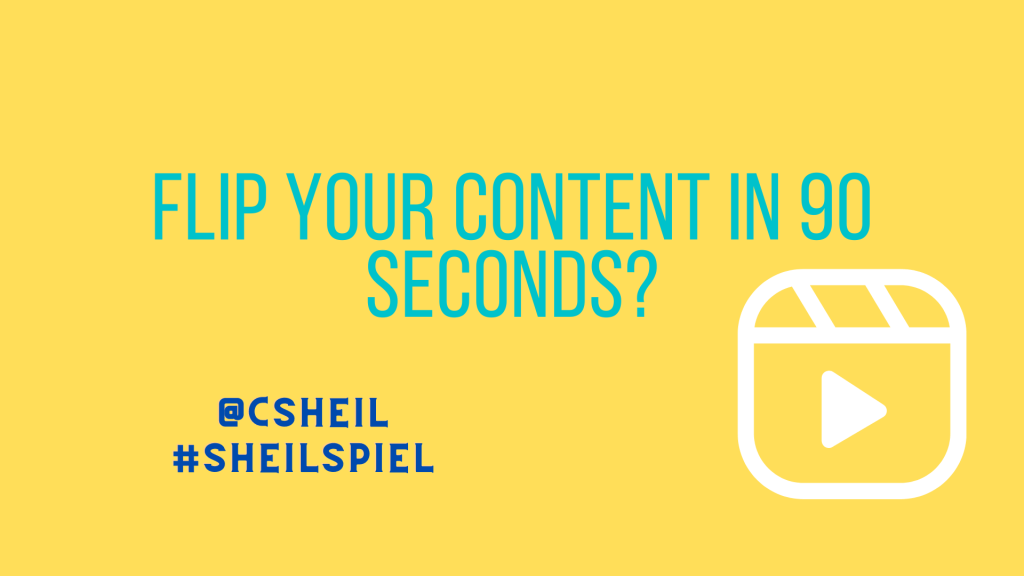
Visual/Auditory Example: I decided to create a short video highlighting the class norms for the course I taught. In less than 90 seconds, students were able to understand what was expected of them in class. Click HERE to view the Flip video or click HERE to view on YouTube.

Traditional Google Doc Example: Below is a screenshot of what the Google Doc looked like that was posted in Google Classroom.

Image of Google Doc Format

Some advantages:

  • One could argue that a video is more engaging than reading a list off of a google document
  • Ability to add humor or show some creativity
  • Mimics similar style videos students and parents are viewing on social media apps
  • Flip is a safe space where students (and teachers) can create without needing a ‘TikTok’ account
  • Eliminates a user name on the video (as seen on TikTok videos)
  • In less than 90 seconds, students were able to understand what was expected of them in class.

Some issues:

  • It could take way more time creating a 90 second video instead of typing a list in a google doc
  • Not all creators enjoy hearing their voice in play back in class
  • Not all creators are willing to use their own personal mobile device to make a video (mobile app)

I enjoyed exploring around with this idea. I plan to continue making similar style videos when I need to share out content with students this year. Perhaps we will get more students paying attention to information being shared with them? Perhaps not. Only time will tell.

If you yourself have been exploring around with this format, I would love to hear from you. And that is my Spiel…

Students & Teachers Enhancing Professional Skills

One positive thing that has come out of our pandemic is the fact that both teachers and students are enhancing their skillset when it comes to technology. One such example happened last week with our students who are in the DECA club. Each year, students from the club participate in state competitions. It has always been a big deal to participate in a 2.5 day conference. Just like everything else, the conference had to be virtual this year. The conference competion had to be reimagined. Once the DECA advisors, Mrs. Wilczewski and Mrs. Doyle, learned the rules and guidelines for participating in this years conference, we got together to problem solve how students were going to meet the requirements in the most efficient way possible.

The Requirements/Guidelines

Here were the requirements/guidelines…

  • Students had submit a video of their competition
  • The video has been submitted via YouTube
  • The video could not be publicly listed
  • In team competitions, both students had to appear in the video at the same time
  • Students had to submit and create their video within a short period of time
Continue reading “Students & Teachers Enhancing Professional Skills”

Creating 360 Videos

Over the past couple of weeks, I have been exploring around with virtual reality and 360 pictures/videos. Through this exploration, I have learned from and been inspired by Sylvia Duckworth (@sylviaduckworth), Kathy Schrock (@kathyschrock), Julie Spang (@jaspang), and Mary Marotta (@mmarotta). My main purpose is to find and implement authentic 360 experiences in the classroom. Sure, it might be cool to be able to take a picture or record something in 360. But how can one make sure that the learning experience has been enhanced.

Implementing 360 Videos

  • Periodically, students and teachers attend field trips throughout the school year. One could bring a 360 camera with them and actually capture part of the experience. This then could be shared with students who could not attend due to being out sick for that time.
  • Each year, students and teachers participate in what we call Intersession. This is where all parties involve participate in an experience beyond the typical curriculum. Some travel throughout the world – this year some students will be going to China as well as Machu Picchu. By capturing 360 video, Spanish teachers could integrate actual experiences with future classes about the location and culture.
  • Each year our seniors are required to do a senior project. How cool would it be for a senior to record their application of knowledge? That senior could then take that video and have students virtually experience what the student experienced during their senior project presentation with the help of VR headsets. (Great idea Ms. Hatzidakis!)
  • In the future, it would also be great for students to be able to take a 360 image and curate information relating to that image by placing hot spots. I know that some programs like Thinglink are already creating ‘spaces’ for uses to be able to do such a thing. Just a different way of sharing information beyond a typical Google Slide presentation or poster presentation.
Creating 360 Videos

Our school purchased a Richo Theta S. This camera allows a user to be able to take still 360 images as well as record true 360 video. I have found it very easy to capture images and video from the device. I, however, found it a bit challenging to actually upload a 360 video to YouTube. You cannot just go to YouTube to upload the video file like you would with any other non 360 video.

So, what is the process that I took? First I took the footage on the camera. I then followed the instructions that Ricoh provided on their website – where I connected the camera to my Mac computer. I found the file that I was interested in, but you will notice that the file is in the format of two different camera shots (see image below).

You must open the Ricoh app (already downloaded on my Mac computer) and place the file in the app. This will create the ‘360 file’ that you really want. Unless I am missing something, you cannot just place this MP4 file in YouTube. YouTube will not know that it is an actual 360 video. On YouTube’s help website, it states:

“Your video file needs to include certain metadata for 360° playback to be enabled.”

So, I had to install an app on my Mac computer so that it will add the metadata it needs into a new file. Instructions on this process can be found HERE.

Once this was done, the file was then uploaded to YouTube. You will know that your video uploaded correctly if you see the arrows on the top left corner (when viewing video on laptop) or the cardboard icon shows up on bottom right corner (when viewing on a mobile device).

While this all seems like a lot of steps and a lot of work, it really isn’t. Just a new process of doing something new. Now that I know what is entailed, I will be able to do this much faster in the future. 
Below is my very first attempt to uploading a 360 video to YouTube. It was filmed on a nice winter day on a country road. Yes, you will get to watch me walking in the middle of the road. I encourage you to see the difference between using a VR headset and a chromebook/laptop. The video most certainly will not receive any Academy awards as the quality is not great. I was more interested in learning about the process of how one could create such video. Moving forward, I would use a selfie stick or a camera stand (if stationary) when filming. You will notice that the camera does take itself out of the video but you can still tell that a hand was holding the camera while filming the video.

I can’t wait to investigate more with 360 videos and virtual reality. It seems as though this is where we are headed. Just have to keep in mind of practical uses in the classroom. You know where to find me if you want to chat about how you can implement this in your curriculum.

As always, that is my Spiel…

Adobe Express: Taking Design to the Next Level

Over the past month, I have been exploring around with a tool called Adobe Express (formally called Adobe Spark). Adobe Express is a tool that provides a user an opportunity to create:

Visual Post, Video, Web Page

Adobe Express works on the web (works great on Chromebooks) as well as through mobile apps (Adobe Spark Post, Adobe Spark Video, Adobe Spark Page). The user is able to log into Adobe Spark with their Google Account – it will ask for a birth date. (If you are planning on using this with students below 13, you should talk with your tech integrator to see if this is in fact a tool you should use with your students.) Below is an example of what you can do with Adobe Voice. This video speaks to the three components of Adobe Spark.

https://spark.adobe.com/video/NqYkC7Ur76B5d/embed

Examples of the Tool
This is an example of a Spark Post that I have created.

Clicking on this link will bring you to a Spark Page that I am currently working on for Hour of Code.

Using this Tool in Your Classroom

You could easily use Spark Post to highlight a song, quote, or poem. Students can use Spark Video to promote a product, explain an idea or concept, verbalize a story they wrote, etc. The possibilities are endless. Rather than using Google Slides to present a topic, students could use Spark Page. Students could even take it to the next level and integrate Spark Posts and Spark Videos into their Spark Page.

Instructions
I have created a 4 step process instructions guideline for students and staff. You can access the actual link to the Google Drawing HERE. The links on the Google drawing will either demonstrate/explain what to do either in GIF or Video format.


Why I Like Adobe Spark
There are many reasons why I like this tool. To name a few…

  • Very easy to use
  • Visually appealing
  • Allows for creativity
  • Allows for student voice and choice

It is important to note that this does not replace G-Suite and its tools. This, however, is a great alternative to the powerful collaboration tool G-Suite from time to time. My challenge for you is to out one of the tools yourself within the next month – once you do one, you will be hooked!

As always, if you have any questions or want to talk about how this tool can be integrated in your own classroom, you know where to find me.

And that is my Spiel…

iMovie + iPhone = Easy Movie Creation


I know that I am ‘late to the party’ on this one but I still felt it was important to share my thoughts on iMovie and on the iPhone. Each year for Intersession (our school shuts down for three days prior to Spring break for students and teachers to participate in some sort of learning outside of the classroom), I tend to be the one that gathers all of the pictures that were taken from our experiences and put them together in a movie. In past years, I have defaulted to using my iPad as this is what I had always used to make a movie. This time, I pushed myself to actually make the movie on my phone.

Why you might ask?

  • My iPad is going on 4 years old.
  • My iPad’s camera is nothing compared to my iPhone.
  • My iPhone is with me at all times.
  • iMovie is a free app that works on iPhones (as well as iPads).
Link to iMovie App from iTunes
I thought that this would be a great opportunity to push myself to do something that I would not otherwise do. I can tell you that my experience with the app on my phone far exceeded my expectations. I thought that the smaller screen size would cause me more issues and have trouble with navigating/creating the movie. I was wrong. I adapted to the size very quickly. I was able to pull in all of my video clips, images, and music from my phone. When done, I was able to send the movie file to YouTube so that others could watch it.
Now, I am not saying that iMovie is the only tool that one should use when making a movie. In fact, YouTube has a good video editor built into their product that I like to use when creating videos on a laptop or Chromebook. Because our students have Chromebooks at our school, we have been having students record their videos using the chrome extension Screencastify and then sending those video clips to YouTube. This way they can use the YouTube editor to create their movie project. 
For this particular instance of me being on the go all three days, I just found iMovie helpful knowing that while I was on the bus coming back from trips, I was able to put together a movie on my phone. Once I got to a location where I had wifi access, I then sent the final movie file to my School YouTube channel for viewing. 
So, whenever you are find yourself on a school trip, or a personal trip, and you want to share your experience with others, consider using this app. You will find that you can be productive when you don’t have access to wifi and then send the final product to YouTube when you do. You will be amazed at how polished your work will turn out.