#Sketch50 – True Inspiration

Let me start off by saying that I do not have the artistic ability like other people. However, I have always been intrigued with sketchnoting. Most people can agree with me in that Sylvia Duckworth does an amazing job with sketchnoting. If you do a simple Google search of ‘Sylvia Duckworth sketchnote‘ several of her masterpieces come up.

Just this past December, I decided to attend Kathy Schrock‘s presentation at the Christa McAuliffe Technology Conference in New Hampshire on sketchnoting. Like I said, I have always been intrigued with sketchnoting. What I liked about Kathy’s session was that she helped us walk through different tasks with sketchnoting…making people, shapes, borders etc. (Kathy has curated lots of resources on sketchnoting HERE) The session started to get my brain thinking that maybe I can sketchnote.

Fast forward to mid-March. I come across a tweet on Twitter that there was going to be a 50 day sketchnote challenge. Call me crazy, but I immediately thought that this was a cool idea.

My Challenge Journey
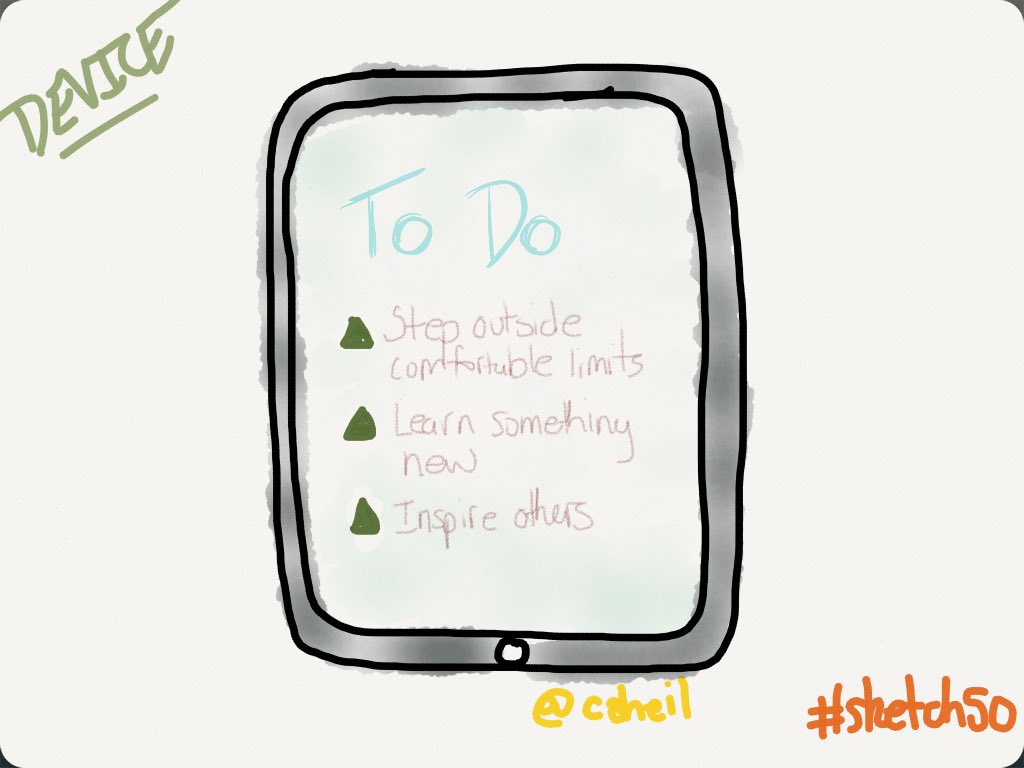
Sure enough, I decided to commit myself to the challenge and followed the Twitter Handle @Sketch_50. The first day was lightbulb. Sure I can draw that…

Day two was microphone or megaphone followed by speech bubbles for day three. It was not until Day four where I realized that there was something big happening.
1. Lots and lots of people have decided to join in on the fun from all over
2. People are inspiring others to participate in #sketch50
3. People are learning great techniques from others through the use of sketchnotes (for instance, on my first sketchnote, I did not include my twitter handle)
4. People are building their visual vocabulary through this challenge
5. People over the course of 50 days will have their own sketches that they can repurpose for future use


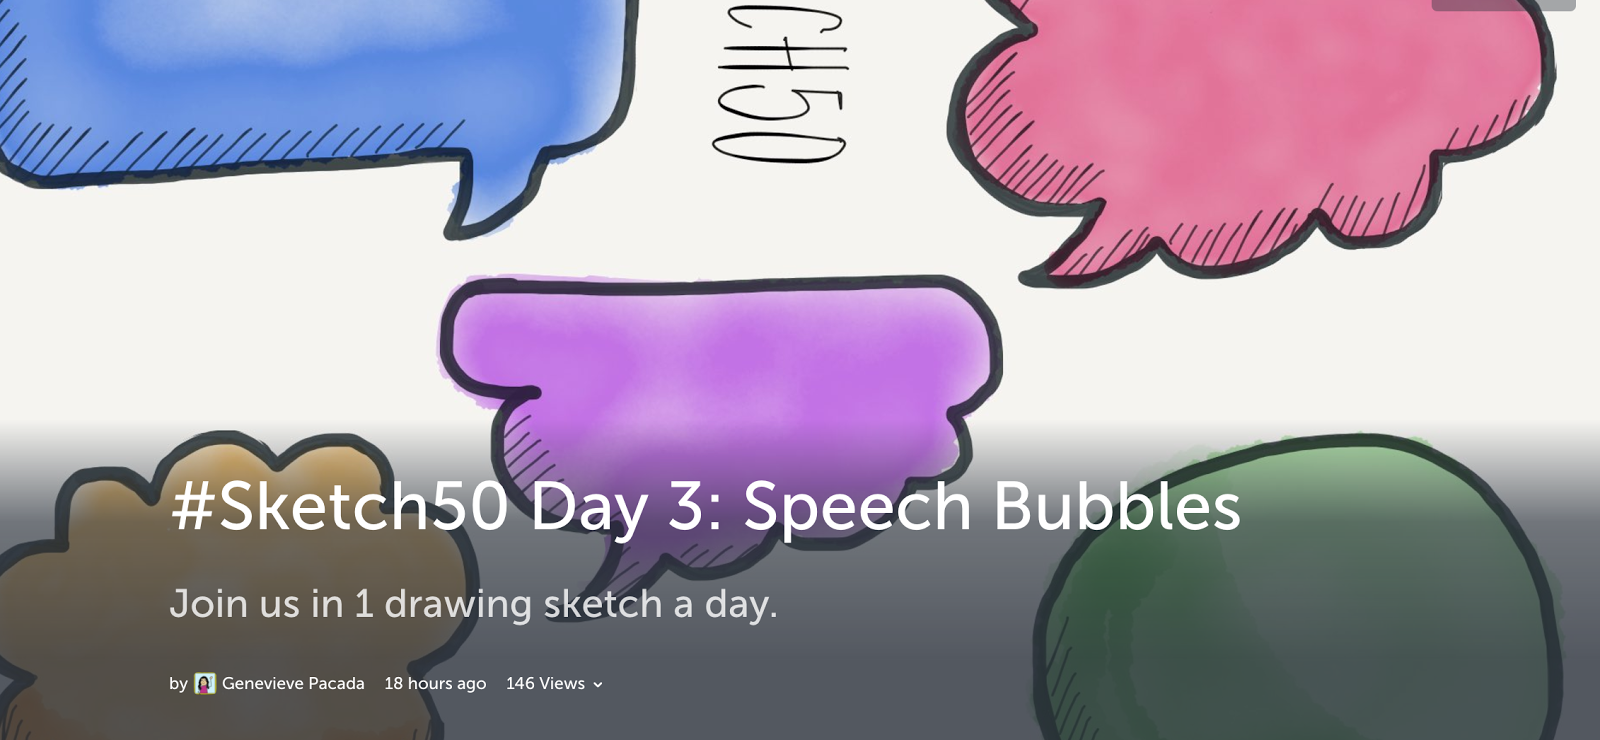
I also realized that we as people sure have different perspectives of one simple topic. Genevieve Pacada decided to curate all of the sketch notes from Day 3 – Speech Bubbles. I looked at some of these and was just in awe. It is cool to see other perspectives from people all over the world.

A colleague of mine, Jess Gilcreast, tweeted out to others that she decided to curate all of her sketches in a Google Docs table. This way she has a one stop shop of accessing all of her sketchnotes. Very clever idea as I would not have thought of doing something like that. I am going to do something similar with the use of storify. I have seen a couple of people mention or use this tool recently – thanks Tina Zita and Mary Marotta. My only hope is that over the course of these 50 days, I will see some improvement on my sketchnotes.

To see my personal journey that I have taken, click HERE.

Will You Join Me?
I highly encourage you to also get inspired by either participate in the challenge (you don’t have to start from square one, or just follow the hashtag #sketch50 on twitter). Sketchnoting can be done in many ways:

  • Paper and pencil/pens
  • Google Drawing
  • Notes (Apple app on your iPhone)
  • Paper 53 (iPad app) – my personal preference

You would be surprised with what you see. True inspiration. Hope you will join me on this adventure.

And that is my spiel…

//platform.twitter.com/widgets.js

Bingo with Your Chromebook

Looking to change up the way chromebooks are used in your classroom? How about having students play bingo electronically…

Google Drawing
Donna Dennis, a co-worker, came up with idea of creating a bingo board template in Google Drawing. Students would either make a copy of the bingo template or receive a copy in Google Classroom. Then students determine what words they want to use to put in their board by dragging the text boxes into the bingo game board. Once the have a match, they are able to bring over a chip to place over the square in the bingo board. This is a very clever way of having students still be able to determine what board they have without using paper. (Down fall you might say would be that students could move their chosen words around the board, as their words are not locked into place, while the game is being played). To see an example of the template that I am talking about, click HERE. – In the image below you cannot see the word bank or the chips that are provided.

If you are interested in the Google Drawing template, feel free to make a copy of it and adapt to your own content. Each word in the word bank is an individual text box. Click on the text box and edit the text. Within five minutes, you can have your own version!

Flippity

Those of you who know me know that I am a big fan of Flippity. The creator has very seamlessly created back end scripts for the average user of Google Sheets to help make their life that much easier.  Just last week, I noticed that Flippity has a bingo option! How cool is that? The steps are very easy:

  • Make a copy of the Bingo Template
  • Add your own words
  • Publish the spreadsheet
  • Provide the link for students to get their own version of the bingo card
For full details from Flippity, click HERE.
To try out a demo of G-Suite terms Bingo board that I put together, click HERE. When you get to the page, select the play tab (decide if you want a free space), then click on the link right above the QR code. You will be given a random arrangement from the words that I put into the spreadsheet. 
NOTE: each time you go to the link, it will give you a different arrangement. What is nice about this is if you put it through classroom, or have student type a shortener goo.gl url, they will automatically have a different game board. In other words, I clicked on the blue arrow next the link above the QR code. This opened another tab on my computer. I took the link from that new tab and used the goo.gl shortener chrome extension to get a shortened link. This link is what I told students to type in order to get their own board.
I also made sure that I put in more than the minimum number of words to help make sure that students did not have words on their game board.

When a student has a particular box, they just click on the words and a chip appears. If they make a mistake, they can just click on the chip and it will disappear. Very easy to use.

As always, if you have any questions on how to use this tool or you want to chat about how you can implement it in your curriculum, you know where to find me.
And that is my spiel…

#GoogleExpeditions in the Geometry Classroom

*This post is near and dear to me seeing as though I used to teach math for eight years.

Virtual Reality is certainly a buzz word these days. Lately at our school, we have been exploring ways by which we can incorporate virtual reality in the classroom. One idea came from a math teacher, Trever Reeh, who blogged about having students explore angle of elevation.

Google Expeditions

Mrs. Taylor, a Geometry teacher at BHS, decided to try out a similar activity but instead use Google Expeditions. To get the students used to the app, she showed them around Machu Picchu first. She highlighted certain geometric characteristics as well as showcase the area. We heard lots of ‘that’s cool’ and ‘can we go somewhere else’.

Next step was to get students to understand how angle of elevation and right triangles can help determine how far they are in the virtual world to certain landmarks. Two landmarks in particular were the Eiffel Tower and Big Ben. Students were paired up where one visited Paris, while the other visited London.

Mrs. Taylor started a different Google Expedition, High Points of Europe: A Tour of Towers, and had those going to Paris virtually see the Eiffel Tower first. The partner then measured the angle of elevation the student took to see the highest point of the tower. Once the measurements were taken, students switched roles so that measurements could be taken by looking at the top of Big Ben in London.

Students then had to do some quick research on their Chromebook to find out information about how tall the towers are, with correct units, to determine about how far they are from the landmark in the picture.

This was such a great opening activity for the students to learn about a new mathematical topic. They were engaged and had fun. I certainly wish that I was able to implement this activity back when I taught Geometry to my students.

A BIG thanks to Trever for inspiring us to try this out activity. Of course, if you would like to chat about how you can use Google Expeditions or Virtual Reality into your curriculum, stop by and we can chat.

And that is my Spiel…

Google Street View – Creating 360 Photosphere

This week, Kerri Lunn and I have been exploring around with how one might be able to create a 360 Photosphere. One such app that will allow you to create a photosphere is Google’s Google Street View. This app is different from Google Maps. This free app allows you to explore the world as if you were there in person. It integrates Google street views, still images, as well as 360 photospheres.

Check out the two photospheres that we created:

Main Entrance to Bedford High School

[googlemaps https://www.google.com/maps/embed?pb=!1m0!3m2!1sen!2sus!4v1489764625558!6m8!1m7!1sF%3A-lgpXSRz-xLw%2FWMrBcC4WH9I%2FAAAAAAAACdo%2FohFLswAgjVcGM8Ns0ronQ7YIGWgw27eZgCLIB!2m2!1d42.9374526!2d-71.5179639!3f235.47222401216524!4f0.884189748833947!5f0.7820865974627469″ style=”border: 0;” width=”600″>

Tech 222 Office – check out our digs!


Exploring Around the World

When you open the app, you have the ability to search for a particular location at the top of the screen. Based on what you search, you will see a sample of photos and photospheres (360 photo). These will be located at the bottom of the screen. You will also notice who has actually uploaded the photo. By selecting the particular photo or photosphere, it will open to give you the perspective as if you were there in person.

You will notice in this screen shot, that there are three different red dots on Bedford High School indicating that there are three different photospheres available to view. The photospheres were taking in the locations (or almost) that are shown.


Adding Your Own Photosphere
If you want to add your own photosphere, click on the camera icon.


Then you will be prompted to take several pictures guiding the orange dot in the white circle.

Tip: Make sure that you do not move too much as this will distort your image. It definitely takes some getting use to.

Publishing Your Content
Once you have taken multiple pictures to complete a 360 photosphere, it will take a few minutes for the photo to be rendered. Then you will have the option to publish your photosphere. Things to note: in order to publish, use must be logged into your Google Account. Location of the photo will also be provided. Thus, you will want to make sure that your school district allows for work to be published with location tied to it (if you are working with students). Also, proper etiquette is to make sure that people in the photosphere give permission for their picture to be taken if their face appears.
And that is my Spiel…

Creating 360 Videos

Over the past couple of weeks, I have been exploring around with virtual reality and 360 pictures/videos. Through this exploration, I have learned from and been inspired by Sylvia Duckworth (@sylviaduckworth), Kathy Schrock (@kathyschrock), Julie Spang (@jaspang), and Mary Marotta (@mmarotta). My main purpose is to find and implement authentic 360 experiences in the classroom. Sure, it might be cool to be able to take a picture or record something in 360. But how can one make sure that the learning experience has been enhanced.

Implementing 360 Videos

  • Periodically, students and teachers attend field trips throughout the school year. One could bring a 360 camera with them and actually capture part of the experience. This then could be shared with students who could not attend due to being out sick for that time.
  • Each year, students and teachers participate in what we call Intersession. This is where all parties involve participate in an experience beyond the typical curriculum. Some travel throughout the world – this year some students will be going to China as well as Machu Picchu. By capturing 360 video, Spanish teachers could integrate actual experiences with future classes about the location and culture.
  • Each year our seniors are required to do a senior project. How cool would it be for a senior to record their application of knowledge? That senior could then take that video and have students virtually experience what the student experienced during their senior project presentation with the help of VR headsets. (Great idea Ms. Hatzidakis!)
  • In the future, it would also be great for students to be able to take a 360 image and curate information relating to that image by placing hot spots. I know that some programs like Thinglink are already creating ‘spaces’ for uses to be able to do such a thing. Just a different way of sharing information beyond a typical Google Slide presentation or poster presentation.
Creating 360 Videos

Our school purchased a Richo Theta S. This camera allows a user to be able to take still 360 images as well as record true 360 video. I have found it very easy to capture images and video from the device. I, however, found it a bit challenging to actually upload a 360 video to YouTube. You cannot just go to YouTube to upload the video file like you would with any other non 360 video.

So, what is the process that I took? First I took the footage on the camera. I then followed the instructions that Ricoh provided on their website – where I connected the camera to my Mac computer. I found the file that I was interested in, but you will notice that the file is in the format of two different camera shots (see image below).

You must open the Ricoh app (already downloaded on my Mac computer) and place the file in the app. This will create the ‘360 file’ that you really want. Unless I am missing something, you cannot just place this MP4 file in YouTube. YouTube will not know that it is an actual 360 video. On YouTube’s help website, it states:

“Your video file needs to include certain metadata for 360° playback to be enabled.”

So, I had to install an app on my Mac computer so that it will add the metadata it needs into a new file. Instructions on this process can be found HERE.

Once this was done, the file was then uploaded to YouTube. You will know that your video uploaded correctly if you see the arrows on the top left corner (when viewing video on laptop) or the cardboard icon shows up on bottom right corner (when viewing on a mobile device).

While this all seems like a lot of steps and a lot of work, it really isn’t. Just a new process of doing something new. Now that I know what is entailed, I will be able to do this much faster in the future. 
Below is my very first attempt to uploading a 360 video to YouTube. It was filmed on a nice winter day on a country road. Yes, you will get to watch me walking in the middle of the road. I encourage you to see the difference between using a VR headset and a chromebook/laptop. The video most certainly will not receive any Academy awards as the quality is not great. I was more interested in learning about the process of how one could create such video. Moving forward, I would use a selfie stick or a camera stand (if stationary) when filming. You will notice that the camera does take itself out of the video but you can still tell that a hand was holding the camera while filming the video.

I can’t wait to investigate more with 360 videos and virtual reality. It seems as though this is where we are headed. Just have to keep in mind of practical uses in the classroom. You know where to find me if you want to chat about how you can implement this in your curriculum.

As always, that is my Spiel…