Day 9 of Google 2020 – Chrome

On Day 9 of Google 2020, we will take a look a some good to know Chrome tips/websites.

CHROME EXTENSIONS

There have been a couple situations where both students and teachers have indicated that they could not find an extension that the district has pushed out to all users. The extension was there but the user did not pin the extension to show up.

On the reverse side, some staff find that they have to many extensions or they might not use all that have been forced to their profile. The user can unpin extensions so that they don’t show up all of the time.

The 1.5 minute video below will walk through the process of pinning/unpinning an extension. You might have noticed there is now a puzzle piece that showed up on the top right corner. That is where you go to pin/unpin.

Continue reading “Day 9 of Google 2020 – Chrome”

Good Things to Know About equatIO

Screen Shot 2019-10-22 at 10.45.12 AM.png

equatIO can be a good tool to get your mathematical thinking down electronically. equatIO is part of a bigger suite of tools from texthelp. There slogan relates to helping make math digital. Whether you are a teacher who uses the tool to create content for students or you have students that use the tool to demonstrate competency or submit mathematical papers, feel free to take a look at this resource that I have put together. Good Things to Know About equatIO

Continue reading “Good Things to Know About equatIO”

Curate Images with DriveSlides

DriveSlides is a chrome extension that was created by Matt Miller and Alice Keeler to help get images into one place, more specifically into a Slides presentation. Below, I have provided an explanation of how the extension works as well as given a couple of examples in how this tool can be implemented.

How the extension works:

  • Curate all images into a folder in your Drive
  • Be sure to open said folder showing the list of all images
  • Select the chrome extension DriveSlides
  • Automatically, the extension will curate all of the images in the folder and place each one on its own slide in one Google Slide presentation. You will notice that the Slide presentation is located in the same folder as the images for further access.
You really cannot ask for a simpler process in getting images into one place. Alice Keeler is all about helping educators (and students) be more efficient with their time.
DriveSlides Examples
Curating Pics for Staff Slideshow
On our first staff day for the school year, it is tradition to watch a slideshow of staff experiences over the summer. Here staff can celebrate marriages, highlight family outings, and/or share new experiences. In past years, staff photos were curated in different ways:
  • Staff would email individual photos to the person who was creating the slide presentation. You could image the number of emails that this person must have received. Then to only download each picture to their desktop, followed by inserting the downloaded image into a Google Slide presentation.
  • Staff would add their own pictures to a shared Google Slide presentation. You could image that this is not as fun as staff could see what others had imported prior to the first staff meeting showing.  
This past year, 
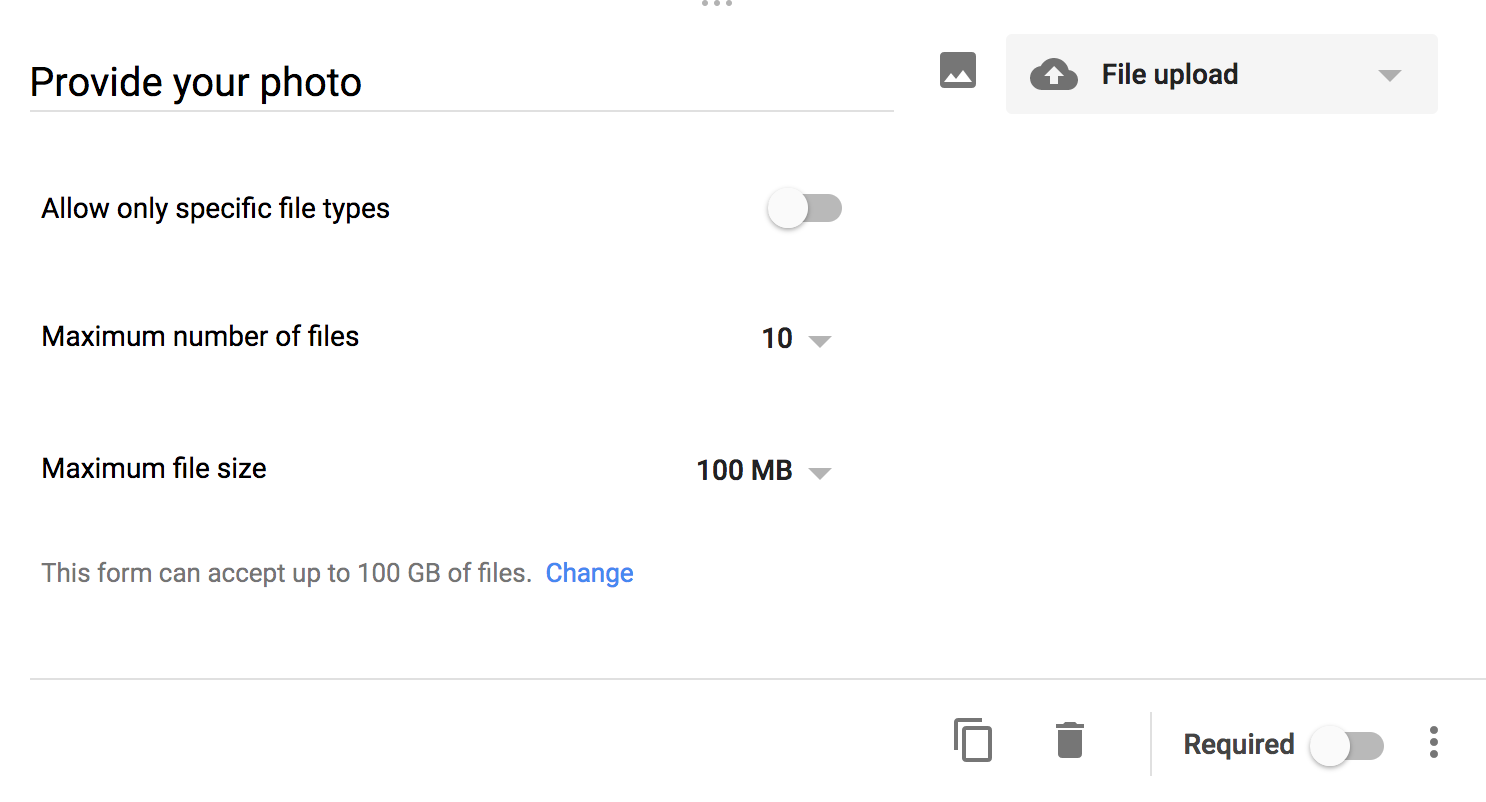
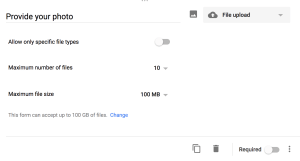
Mrs. Croft, created a Google Form and asked one simple question. Upload your photo. She allowed staff to fill out this form as much as they wanted. Because of the way the ‘File Upload’ question works in Google Forms, a folder is automatically created in Google Drive. Here, Mrs. Croft was able to open up the folder and use DriveSlides to automatically move all the images into a Google Slide presentation. From there, she was able to move slides around, add text to some slides, as well as insert her own slides to create title slides. DriveSlides, saved her a lot of time.

Note: With the ‘File Upload’ option in Google Forms, participants filling out the form must be signed in with their Google account in order to submit a file to you.

Google Classroom Assignment
With the design of how Google Classroom has been created on the backend, DriveSlides works perfectly. To help with organizing files, for every assignment that is created in Google Classroom, a folder is made. Thus, if you ever have students turn in an image, such as:
  • photos taken for photography class
  • screenshots showing graph created in Desmos
  • picture of written work from webcam on Chromebook
you can use DriveSlides to curate them all in one Slide presentation.

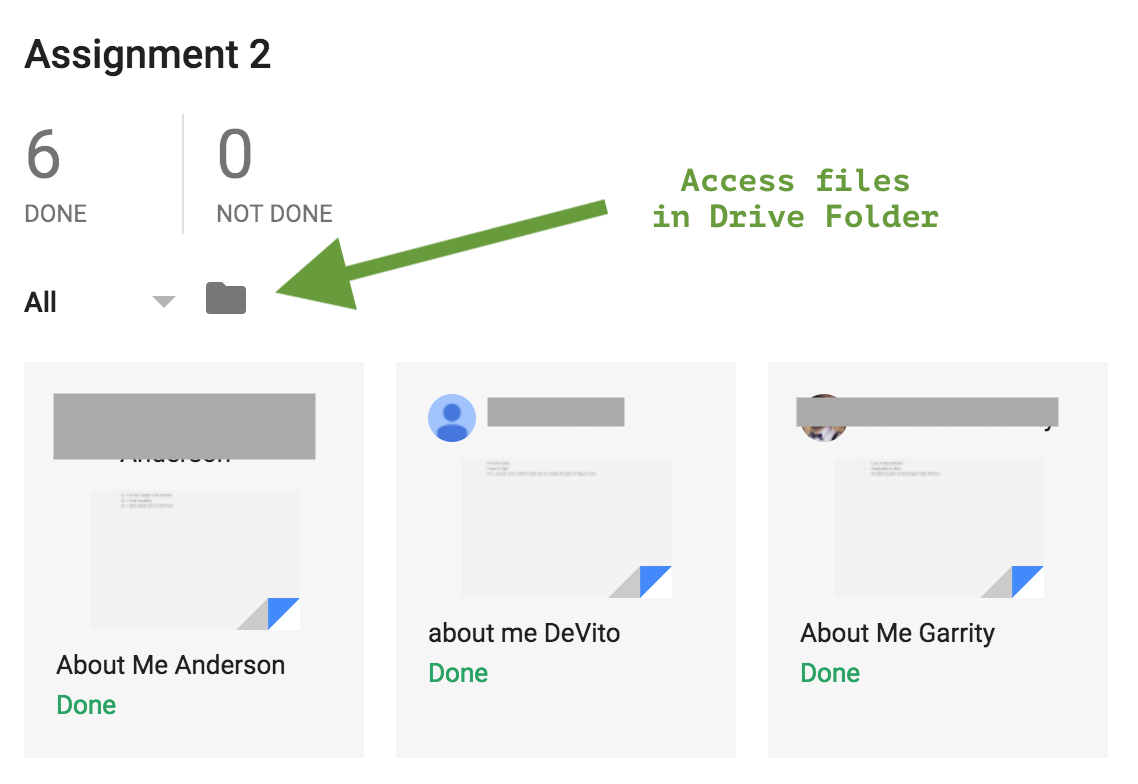
Once you open an assignment in Google Classroom, you will find a folder icon above all of the files turned in. You would select this folder icon to then view all images uploaded in the folder view. This would allow you to then use DriveSlides.

You might say, well why do I need all student work from the class in one slide presentation. Maybe you

  • want a way for students to collaborate and provide feedback on each piece of work. With the appropriate sharing permissions (anyone with the link can edit), you can allow all students in the class edit that one Google Slide presentation and provide feedback/add content.
  • want an easy way to show what the overall class thought process was like after the lesson
  • want an easy way to share student learning with administration
The possibilities are endless with this chrome extension. If you are interested in learning more about how you can use this extension with your curriculum, you know where to find me. 
And that is my spiel…

Efficiency with Using Multiple Tabs in Chrome

Sometimes the ‘simplest things’ are the ‘best things’. One such example has to deal with managing your chrome tabs and windows. We all have experienced a time where we wanted to be able to see two different tabs in a chrome browser at the same time, but we don’t want to have to deal with bouncing back and forth from each of them to accomplish work. You also don’t want to have to manually select new window from the file menu of Chrome. So the solution you ask? Use two different chrome extensions, called Tab Scissors and Tab Glue.

Tab Scissors
You can get tab scissors from the chrome store, under the extensions section. By selecting this chrome extension, it will automatically create two different windows for you.

NOTE:
1. The two separated windows will take the same real estate as the original window. Thus you will want to make sure that the original window takes up the full screen of your computer.

2. You will notice in the GIF below, I want to be able to see the Sheil Spiel tab as well as the YouTube: Closed Captioning Google Slide presentation tab. Thus, because the Google Slide is the tab on the right side, I selected its tab before hitting the Tab Scissors chrome extension.


Tab Glue
You can get tab glue from the chrome store, under the extensions section. When you are ready to merge the two chrome windows back into one, you select the tab glue extension. See the GIF below.

Hope that this simple tech tip can help make you be more efficient with your work.

And that is my Spiel…

Electronic Verbal Feedback w/ Read & Write

Last month, a colleague of mine, Donna Dennis shared with me an efficient way for a teacher to give electronic verbal feedback on student work. She was introduced to this idea at the Christa McAuliffe Tech Conference, I think it came from Jenn Judkins. I thought it was a very clever idea and wanted to share.

Instructions on how to get things set up and actually record comments can be found below in the Google Drawing below. However, in order to access the links provided in the Google Drawing, you will want to click HERE. In order to use this process, you must be using Chrome as well as the Read & Write chrome extension.

What I appreciate most about this process is that students do not need access to a separate account (through an add on, chrome extension, or google app). Only the teacher needs access to Read & Write to leave electronic verbal comments in a students’ Google Document. I also appreciate the fact that Read & Write will give an educator a free account if they do not currently have an account. Not only is the process extremely simple, it also forces the teacher to provide quick, short feedback as the default to voice comments is a minute or less. Just as we ask our students to think about their thoughts, it forces teachers to also do the same.

NOTE:
All voice comments that you leave can be found in a folder in your drive called “My Voice Notes”. Read & Write organizes these all for you.

When a student wants to play a recorded comment, they select the link provided and listen to the comment in a separate window.

Of course, if you have any questions or want me to work with you to get things set up, you know where to find me.

And that is my spiel…