Using Shortcuts with Screencastify

Screencastify has been a ‘go to’ tool for our school, especially since it works so nicely with chromebooks. For those of you who have not used Screencastify, I highly recommend that you check it out.

There are many uses of the tool:

  • Create a screencast demonstrating a task
  • Create a screencast highlighting information
  • Record conversation between people
  • Record an audio recording (by using the camera feature but blocking the camera so that it only records a black screen and picks up audio only)
  • Film scenes for a project
What I am most excited about is the fact that you can create your own shortcuts when using Screencastify. Sometimes, I do find it a bit clunky trying to start and stop the screencast without seeing the curser go off the screen. This can help with that. You can create (or use the existing) shortcuts for

Starting Screencastify
Pause/Resume Recording
Start/Stop Recording
Change Recording to Current Tab

Watch the gif below to see how easy this is.

For those of you who have never used Screencastify, or you want a resource for your students, scroll through the Google Slideshow below.

As always, if you have any questions about how you or your students can use this tool in your classroom, you know where to find me.

And that’s my spiel…

Gamifying Professional Development – #GoogleSheets

This past semester Jess Gilcreast, our librarian, and I worked together in creating ways our staff could earn professional development hours besides sitting in a formal training. Our goal was to help create flexibility and adhere to different learning styles. One such way that we accomplished this was through offering professional development training through Gamification, using Google Sheets.

The Inspiration
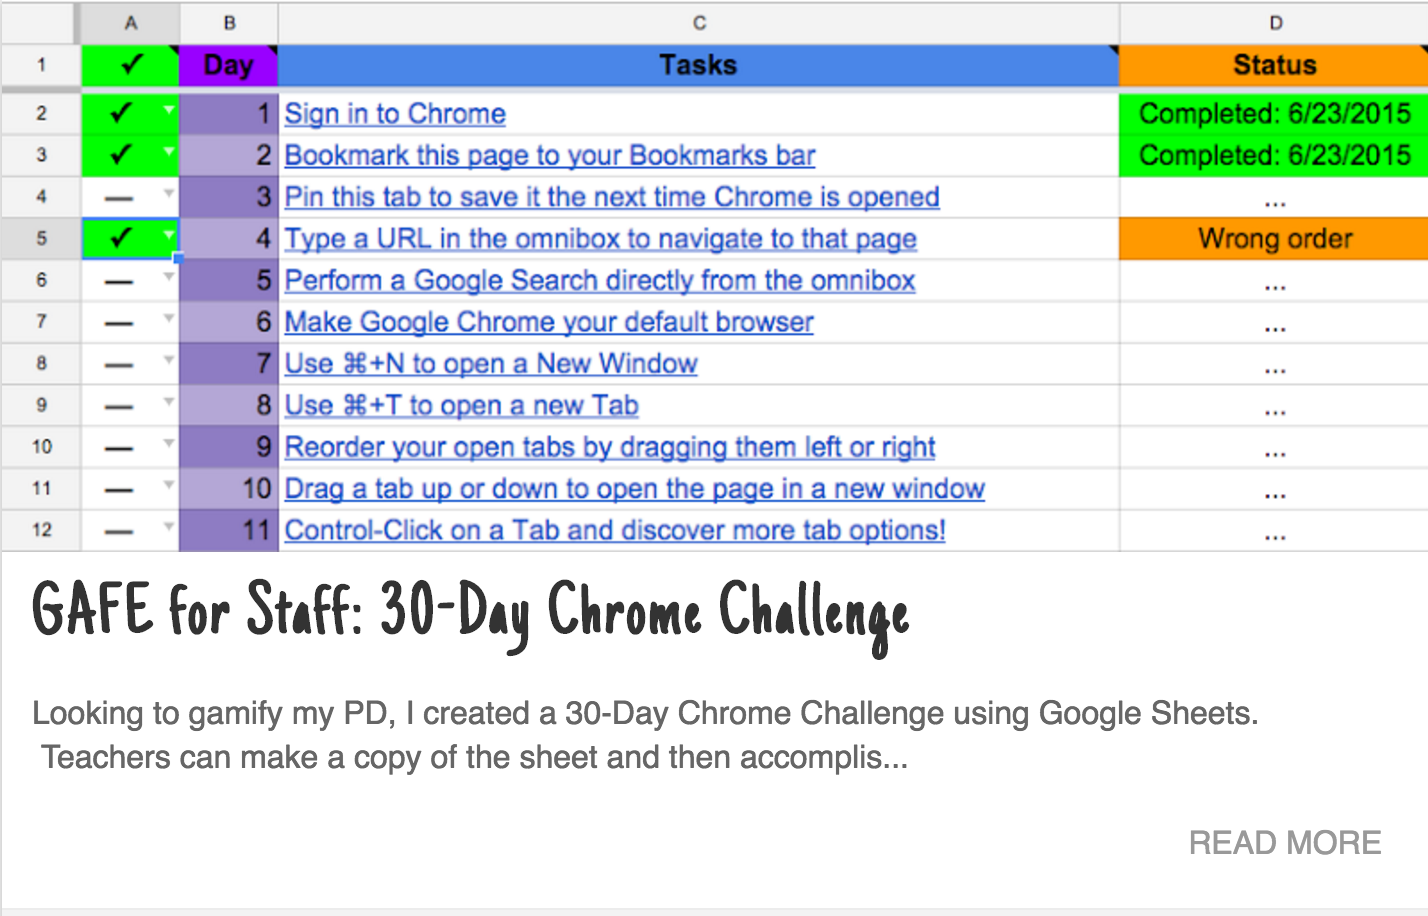
This inspiration came from Bob Petitto. Not only was I impressed with the work that he had published on his blog, but I was also inspired by his Chrome in 30 Day activity that he put together. I appreciated the fact that he provided a way for his staff to learn about the Chrome browser on their own time by completing 30 different tasks. His original blog post on his 30 day challenge can be found HERE.

I also was inspired by the work that our Freshmen humanities teachers put together, Heath Ahnert, Steph Burnham, Krystin Cooney, Jess Hatzidakis, Steward Pepper, and Meg Uliasz. Their ultimate goal was to help students truly understand the process of researching and citing acquired information for a research paper. Thus, they gamified the task. Based on student decision on which specific tasks they completed, different items would appear with their explorer. The more challenges the students completed, the more elaborate items would appear, truly creating a ‘game’ out of learning. Such an awesome way for staff to connect with students. These teachers did great work and they came back stating that the students loved the activity.

Gamifying Professional Development
So, with the two above incidences, Jess Gilcreast and I put together our own activity that related to tech training we wanted our staff to know. The link to our Gamification PD Google Sheet can be found HERE. Feel free to use, we just ask that you please give credit.
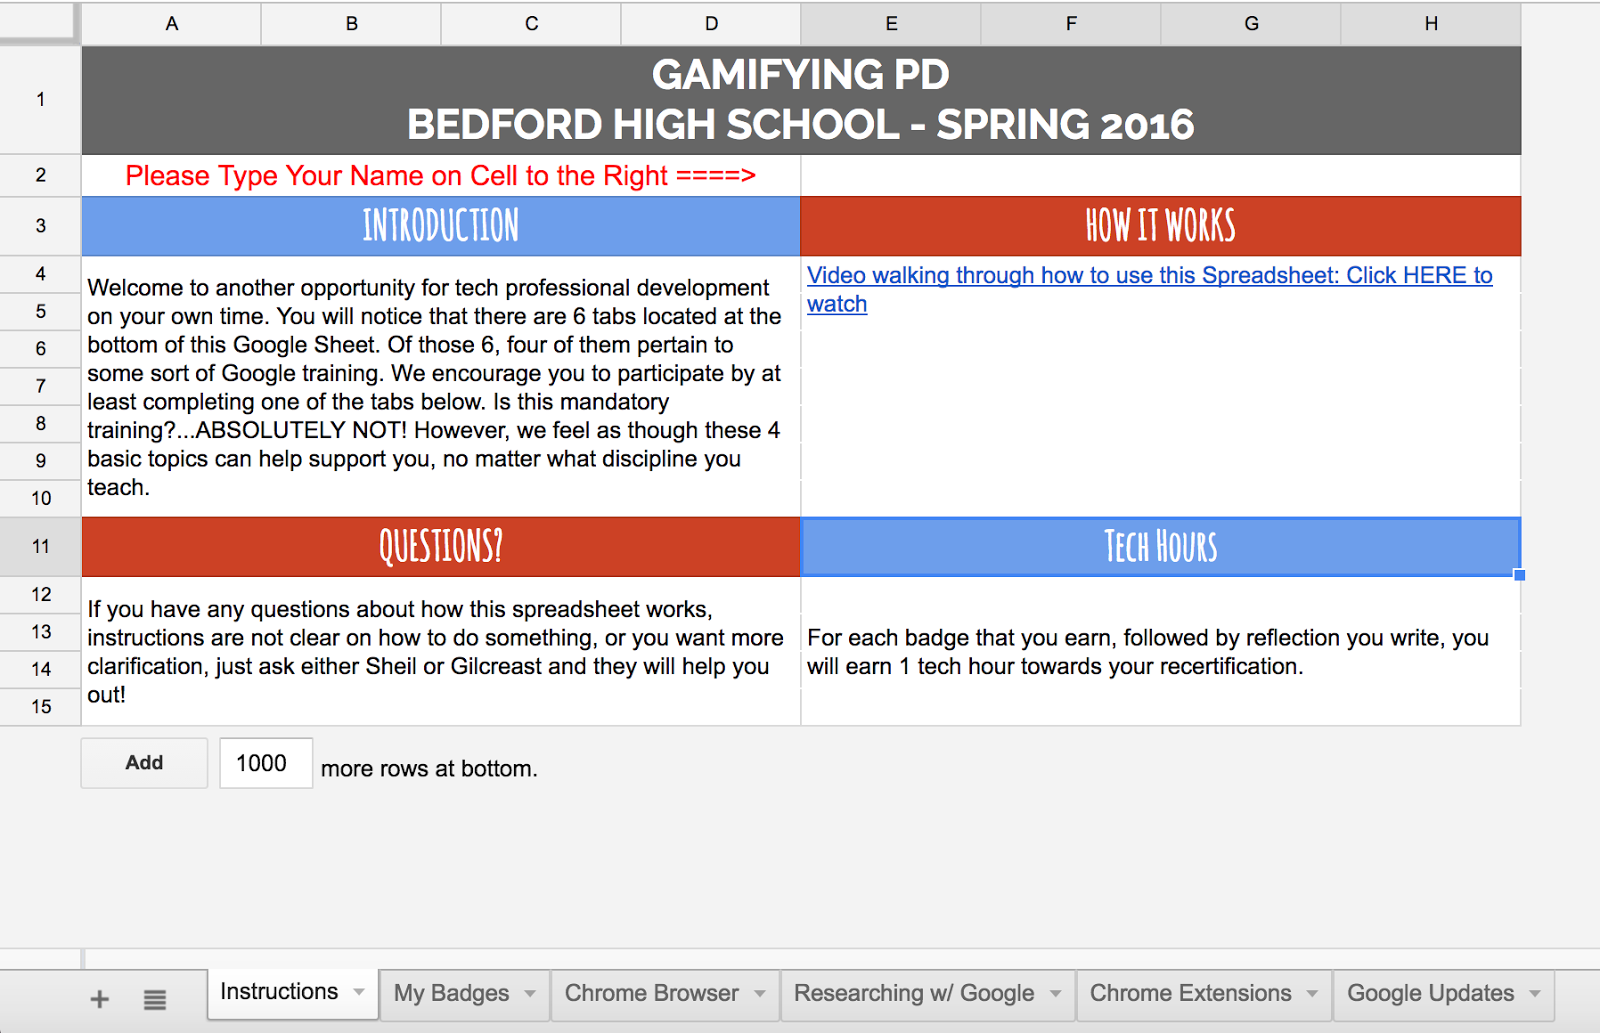
Instructions Tab:
Instructions for the user explaining how to use the sheet. A video is even included for the user to help them with navigating through the Google Sheet.
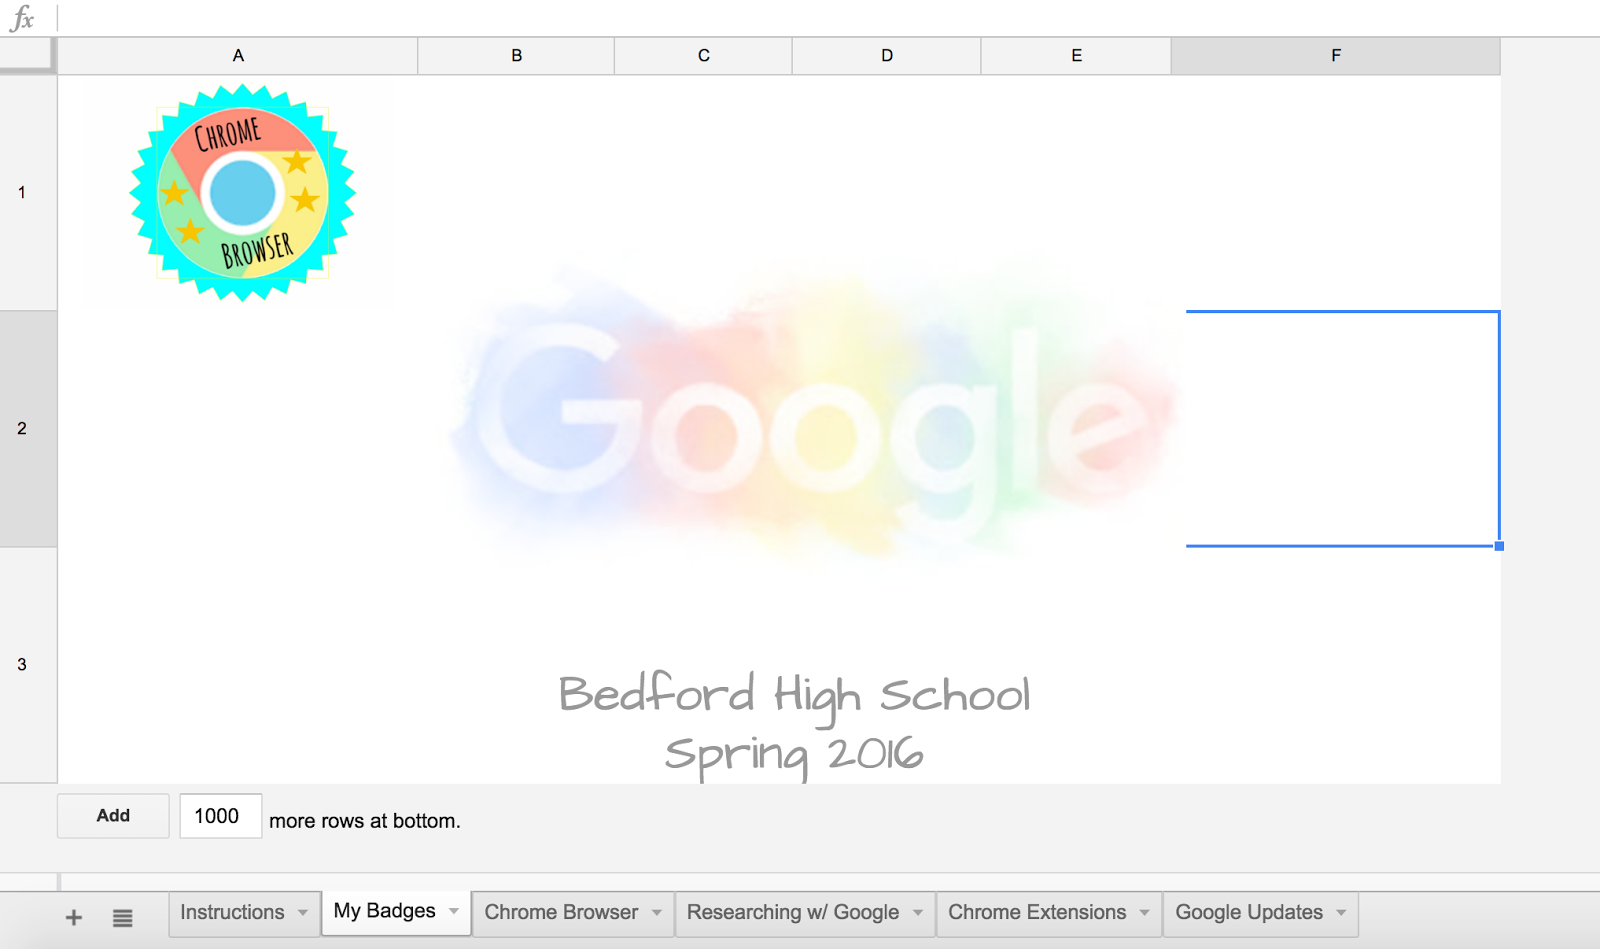
My Badges Tab:
As the user completes tasks a certain badge will show up on their ‘certificate’. If a user completes all four tasks, all of them show up on their certificate, one in each corner of the certificate.

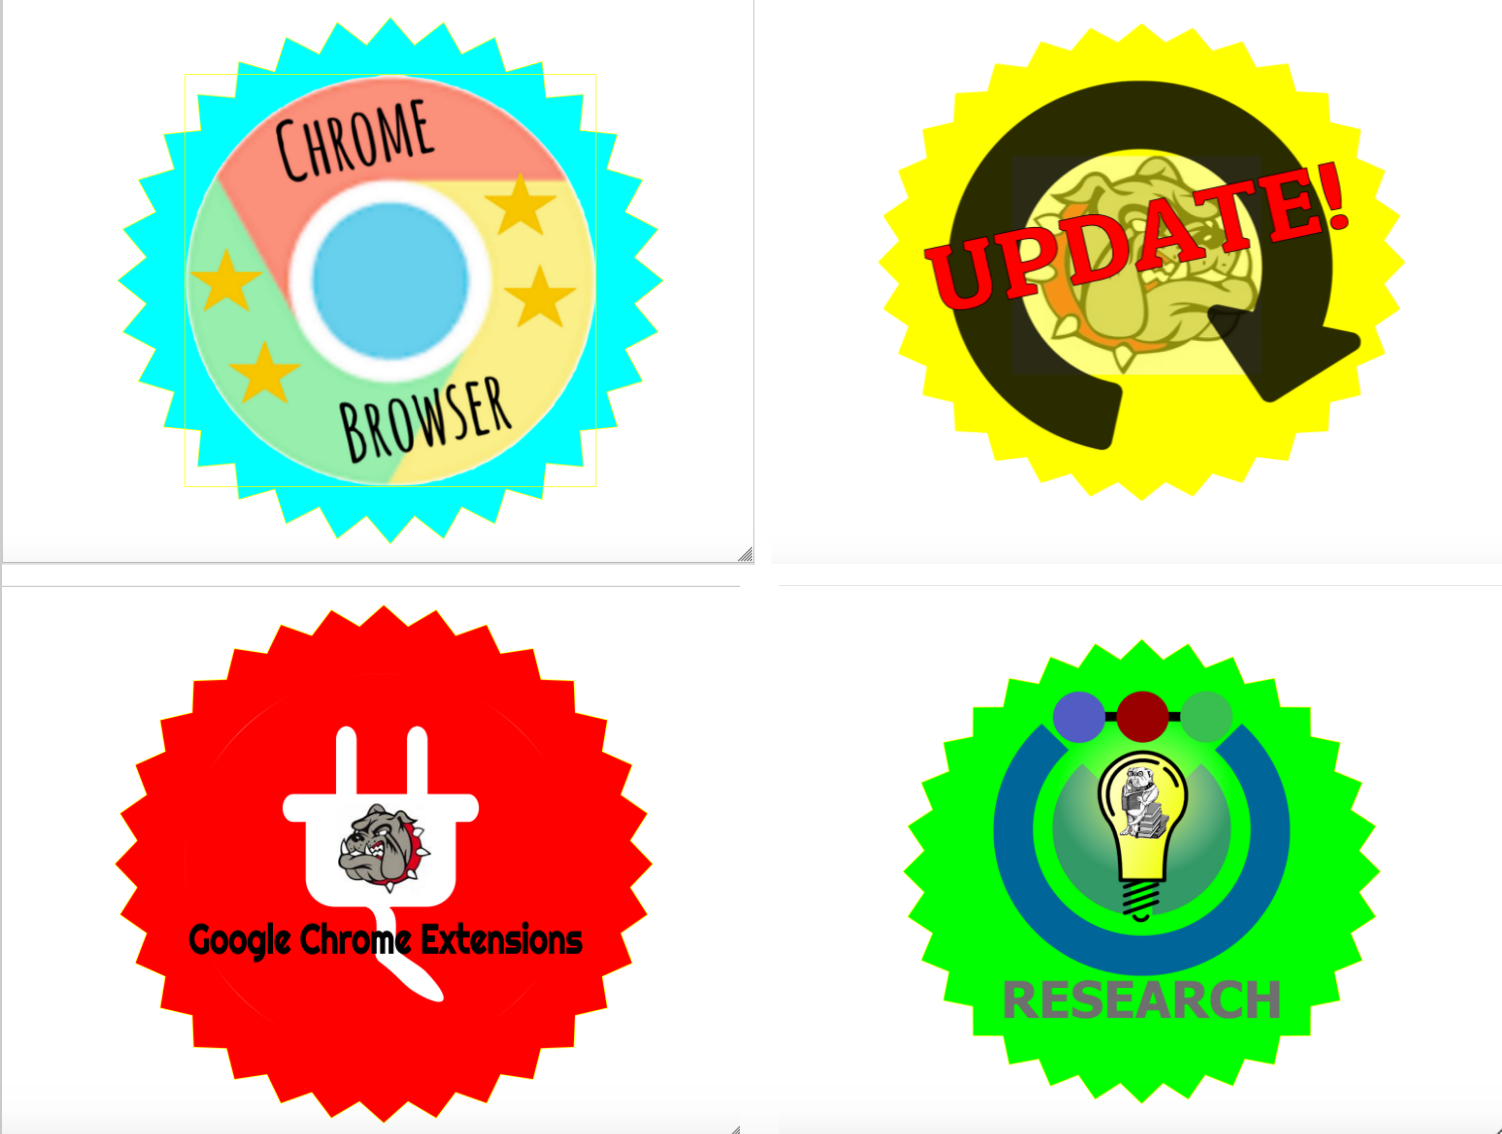
These were the four badges that Gilcreast created for the certificate. All done by using Google Drawings.
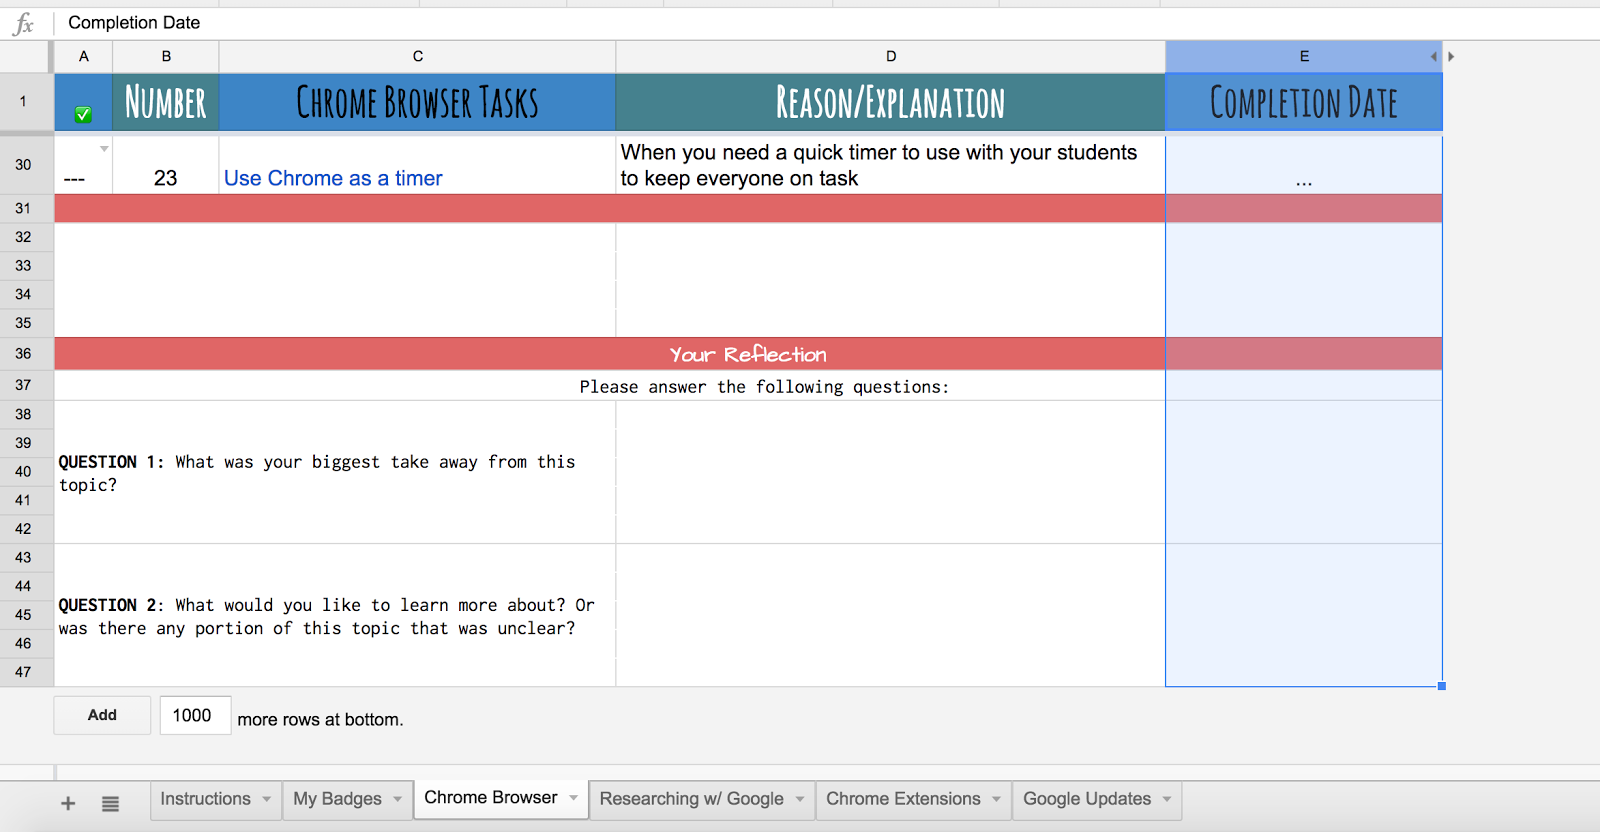
PD Tabs:
We offered four different opportunities for the staff: Chrome Browser, Researching w/ Google, Chrome Extensions, and Google Updates. In order for a staff member to receive a badge, they had to complete all tasks under that topic. You will also notice that a reflection section was added at the bottom of each tab. We wanted to know what their biggest take away from the activity was as well as any questions they still had that we could help answer.


NOTE: Some things might be outdated at this time as this was something we put together for Spring semester of 2016.

Benefits to this Type of Learning?

  • Staff learn at their own pace
  • Staff learn when they want to learn (learning should happen beyond the walls of the school – we hear this all the time with student learning so why shouldn’t it apply to our staff as well)
  • Staff are competitive

This was the very first time that I had done anything in terms of Gamifying. Not only did I have fun deciding what to include, I also gained a great appreciation for what Google Sheets can do for you. I also enjoyed collaborating with my librarian. I know that I have already said this but thanks for the inspiration Bob Petitto and Freshmen Humanities team. My hope is that in the future more staff in our school will take advantage learning in this format.

iMovie + iPhone = Easy Movie Creation


I know that I am ‘late to the party’ on this one but I still felt it was important to share my thoughts on iMovie and on the iPhone. Each year for Intersession (our school shuts down for three days prior to Spring break for students and teachers to participate in some sort of learning outside of the classroom), I tend to be the one that gathers all of the pictures that were taken from our experiences and put them together in a movie. In past years, I have defaulted to using my iPad as this is what I had always used to make a movie. This time, I pushed myself to actually make the movie on my phone.

Why you might ask?

  • My iPad is going on 4 years old.
  • My iPad’s camera is nothing compared to my iPhone.
  • My iPhone is with me at all times.
  • iMovie is a free app that works on iPhones (as well as iPads).
Link to iMovie App from iTunes
I thought that this would be a great opportunity to push myself to do something that I would not otherwise do. I can tell you that my experience with the app on my phone far exceeded my expectations. I thought that the smaller screen size would cause me more issues and have trouble with navigating/creating the movie. I was wrong. I adapted to the size very quickly. I was able to pull in all of my video clips, images, and music from my phone. When done, I was able to send the movie file to YouTube so that others could watch it.
Now, I am not saying that iMovie is the only tool that one should use when making a movie. In fact, YouTube has a good video editor built into their product that I like to use when creating videos on a laptop or Chromebook. Because our students have Chromebooks at our school, we have been having students record their videos using the chrome extension Screencastify and then sending those video clips to YouTube. This way they can use the YouTube editor to create their movie project. 
For this particular instance of me being on the go all three days, I just found iMovie helpful knowing that while I was on the bus coming back from trips, I was able to put together a movie on my phone. Once I got to a location where I had wifi access, I then sent the final movie file to my School YouTube channel for viewing. 
So, whenever you are find yourself on a school trip, or a personal trip, and you want to share your experience with others, consider using this app. You will find that you can be productive when you don’t have access to wifi and then send the final product to YouTube when you do. You will be amazed at how polished your work will turn out.

Polling Students through Google Slides

Receiving formative feedback can be very helpful. There are many tools out there that help get that feedback, whether you use Kahoot!, Quizizz, Socrative, or Peardeck (to name a few).

Just recently, Poll Everywhere came out with a Chrome extension that allows Google Slide users the ability to embed Poll Everywhere questions right in a presentation.

I can see this being very useful when you know you want to ask your students a very quick question but don’t want to spend the time to add the presentation in a Peardeck or Kahoot! Poll Everywhere does have a free educator account (which is great) but only limits you to 40 responses per question. So, those of you who have class sizes higher than that would not be able to use this tool.

So the next time you have that moment of ‘I want to quickly add a question or two to a google slide presentation’ give Poll Everywhere a try.

STEP 1:
Get the Poll Everywhere Chrome extension. The actual official title of this Chrome extension is: Polling in Google Slides (This chrome extension has already been pushed to the staff in my district).

It is important to note that you will not ‘see’ the chrome extension with the rest of the extensions in the Chrome browser. Instead, a new menu option will show up when you have a Google Slide opened on your screen.

STEP 2:
Go to Poll Everywhere and sign up for the free K-12 Educational Plan. Click HERE for the direct link.

STEP 3:
Open up a Google Slide presentation that you would like to include a question or two in your presentation. You will notice the new menu option: Poll Everywhere.

STEP 4:
Log in to your Poll Everywhere account.

STEP 5:
Then select Create Poll. A pop up window will appear for you to choose the type of question. Once you hit insert poll, it will automatically insert a slide with that poll question on it.

Important to Note: The actual poll question will not show until you are in present mode of your slide presentation. While in editing mode, you will see the following:

If you have any questions on how you can use this extension or you need assistance making this work for you, just let me know.

Have You Shared with Classroom Yet?

Google has created a Chrome extension that allows teachers to be able to share information easily to students that are enrolled in their Google Classroom without having to log into classroom.google.com. The name of the extension is Share to Classroom.

In order to effectively use the power behind this extension, your students will need to have this extension in their account as well. (This Chrome Extension will be pushed to all BHS students in the very near future as this will work nicely with chromebooks.)

What You Can Do…

  • Push a website, article, video, document to students right on the spot without making an assignment/announcement
  • Push an assignment to the class
  • Make an announcement to the class
Push Content
I am a big fan of this feature. Everyday, we make spontaneous decisions based on where discussions are leading us. This extension helps support information you want students to access right on the spot. By using this chrome extension, you can send all students who have their device open a link to a website, video, article etc. This is similar to Google Tone (another Chrome extension) but I like how this is tied to a Google Classroom so that only those students in the class get the pushed site – not other students. 

For instructions and demonstration on how this works:

Posing Assignment and Announcement

You are able to post assignments and announcements in Google Classroom without having to be logged into classroom.google.com.

For instructions and demonstration on how this works:

As always, if you have any questions, let me know!