
Here we go again. Craig is writing another blog post about virtual reality. I promise that we do other things at the high school that I work at. However, we continue to try new things pertaining to virtual reality.
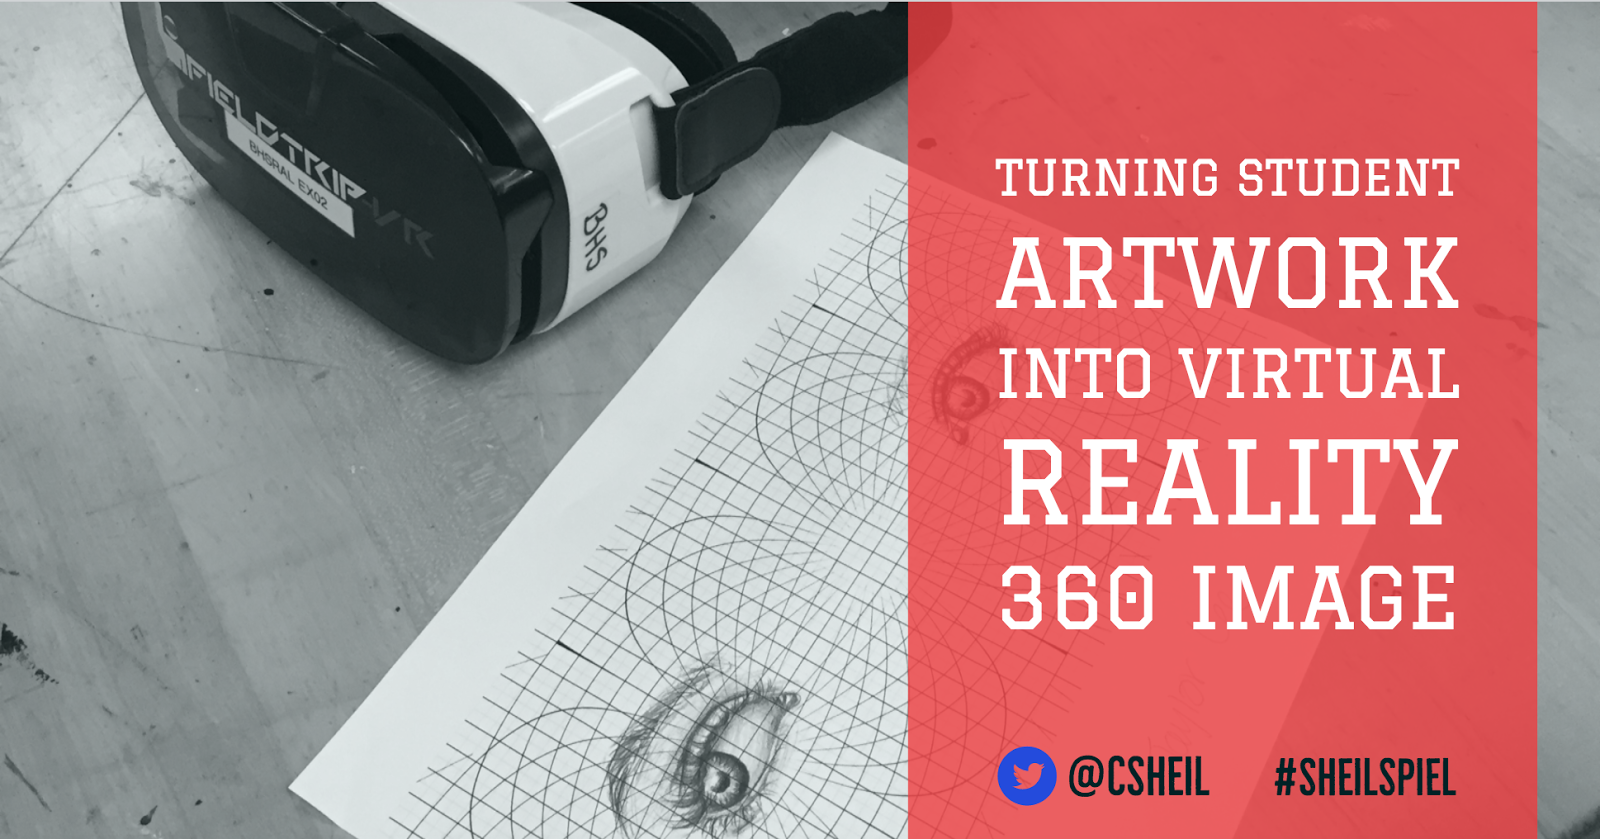
 Last November, I attended a session that Kathy Schrock was giving. It had to do with taking 360 pictures with mobile devices. This session, like others that I have attended from Kathy, gave me a new idea that I hadn’t thought of before. She had shared that there was a way to take artwork from students and turn it into a 360 image. I thought that this was brilliant. The website that she shared was Panoform. Panoform allows a user to upload an image to view with a VR headset.
So, the very next day I was at school, I had to share this idea with one of our art teachers who teaches both Photoshop and Drawing. She loved the idea.
Drawing I Class
Mrs. Hogan downloaded one of the template grids on panoform’s website. She then had students take the paper and practice drawing human eyes. She didn’t tell them what they were doing with them at the time.
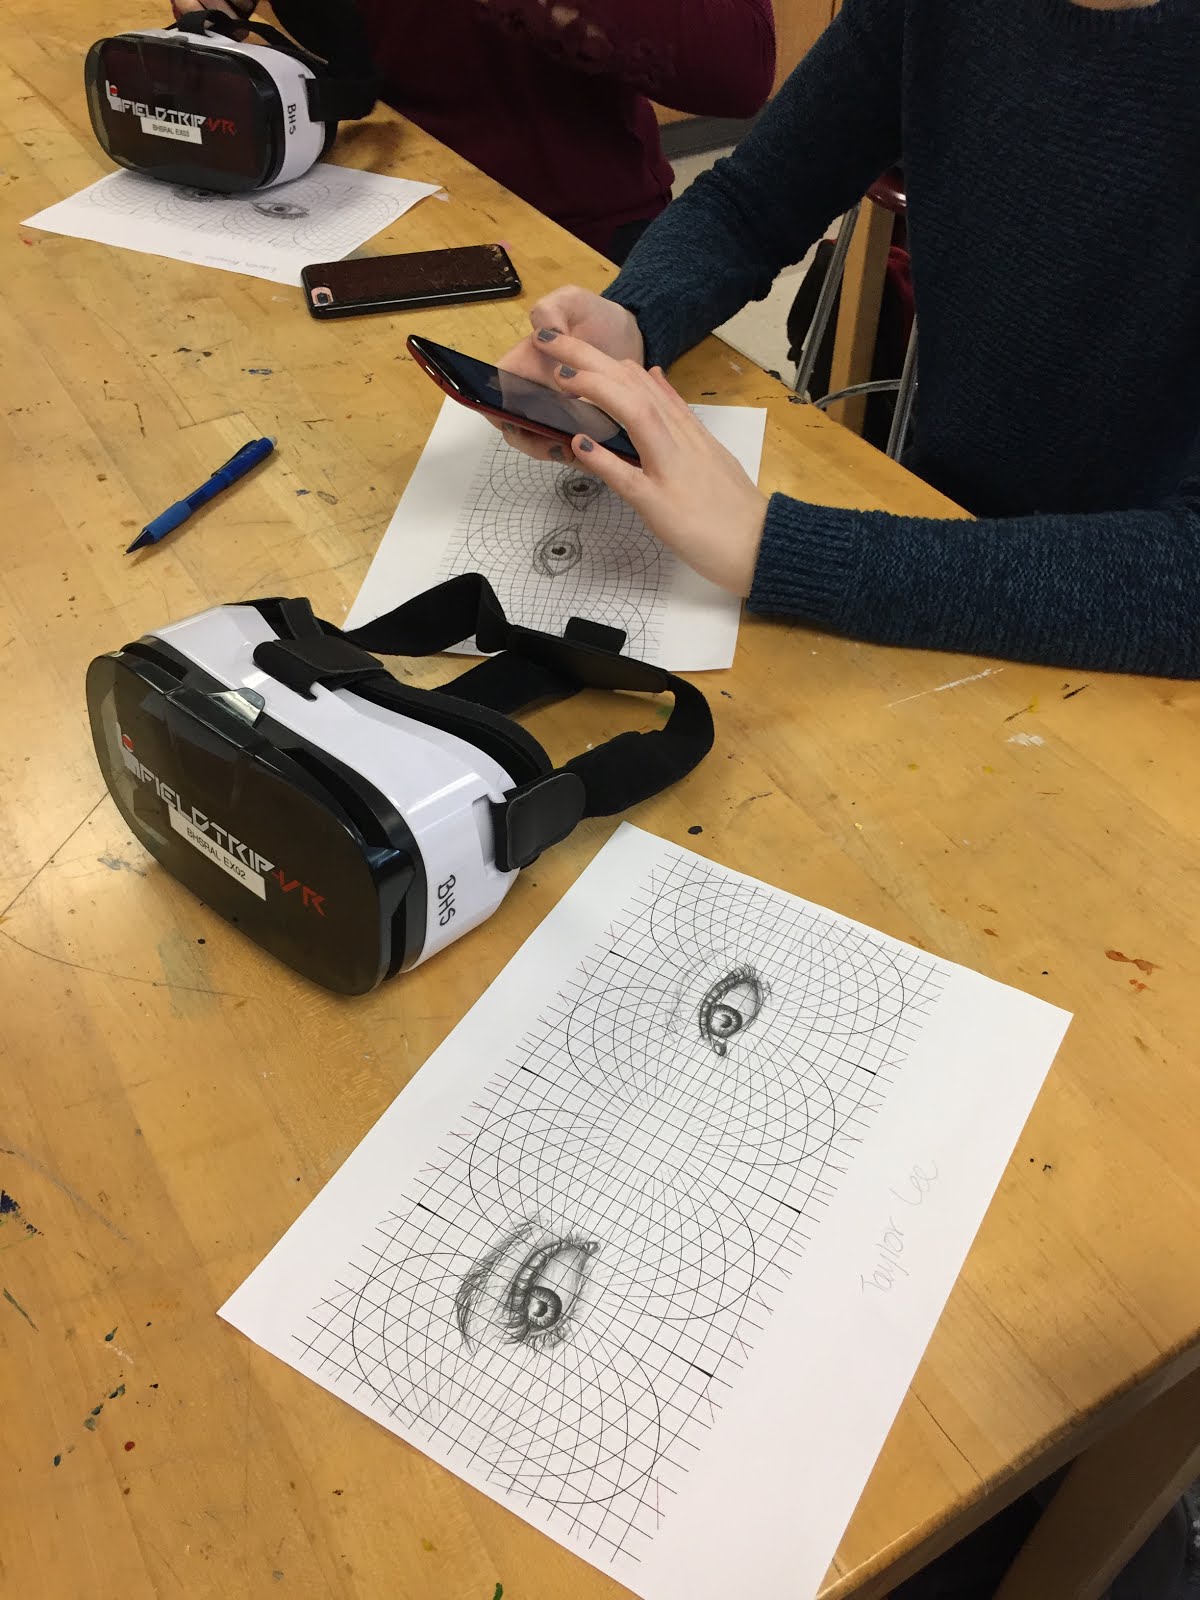
Next, when there was a free moment in class, I stopped by with the cart of mobile phones and we had the students take their drawing and turn it into a 360 image. Below are the steps that we had the students use. We did learn a couple of things along the way as well.

Process:
- Launch the browser on the phone
- Go to www.panoform.com
- Select the orange “Try It” button
- Select the “choose file” button
- Take a picture of the artwork with the camera on the mobile device. (This was a trial by doing situation. We had students take the picture with the phone horizontal – NOT vertical. We found that students who did this vertically had the image uploaded wrong. We also found that you could take a picture of the artwork only. Some took it with image and the unused space in the grid. Both provided the ultimate result we were looking for.)
- After picture is taken, students must select the checkmark PRIOR to returning the phone vertical – this is so that there were no issues with the image.
- Students then selected the google cardboard icon on the bottom right so that they could view their image with VR headset googles. For those students who prefer not to view with the viewers on, they are able to use their finger to drag the image to view it.
Photography Class
 Mrs. Hogan wanted her photography students to be able to view an image that they took with the VR headsets using the same website. Students followed the same process as described above, however, she first had students take their image and the grid template into photoshop so that they could layer the photo on top of the grid. We discovered however, that it didn’t make matter whether the grid was in the background or not. No matter what image was uploaded (with or without the grid), students were able to view their photos with virtual reality. Mrs. Hogan and her students also discovered that they liked to view student work that happened to have been a panoramic photo.
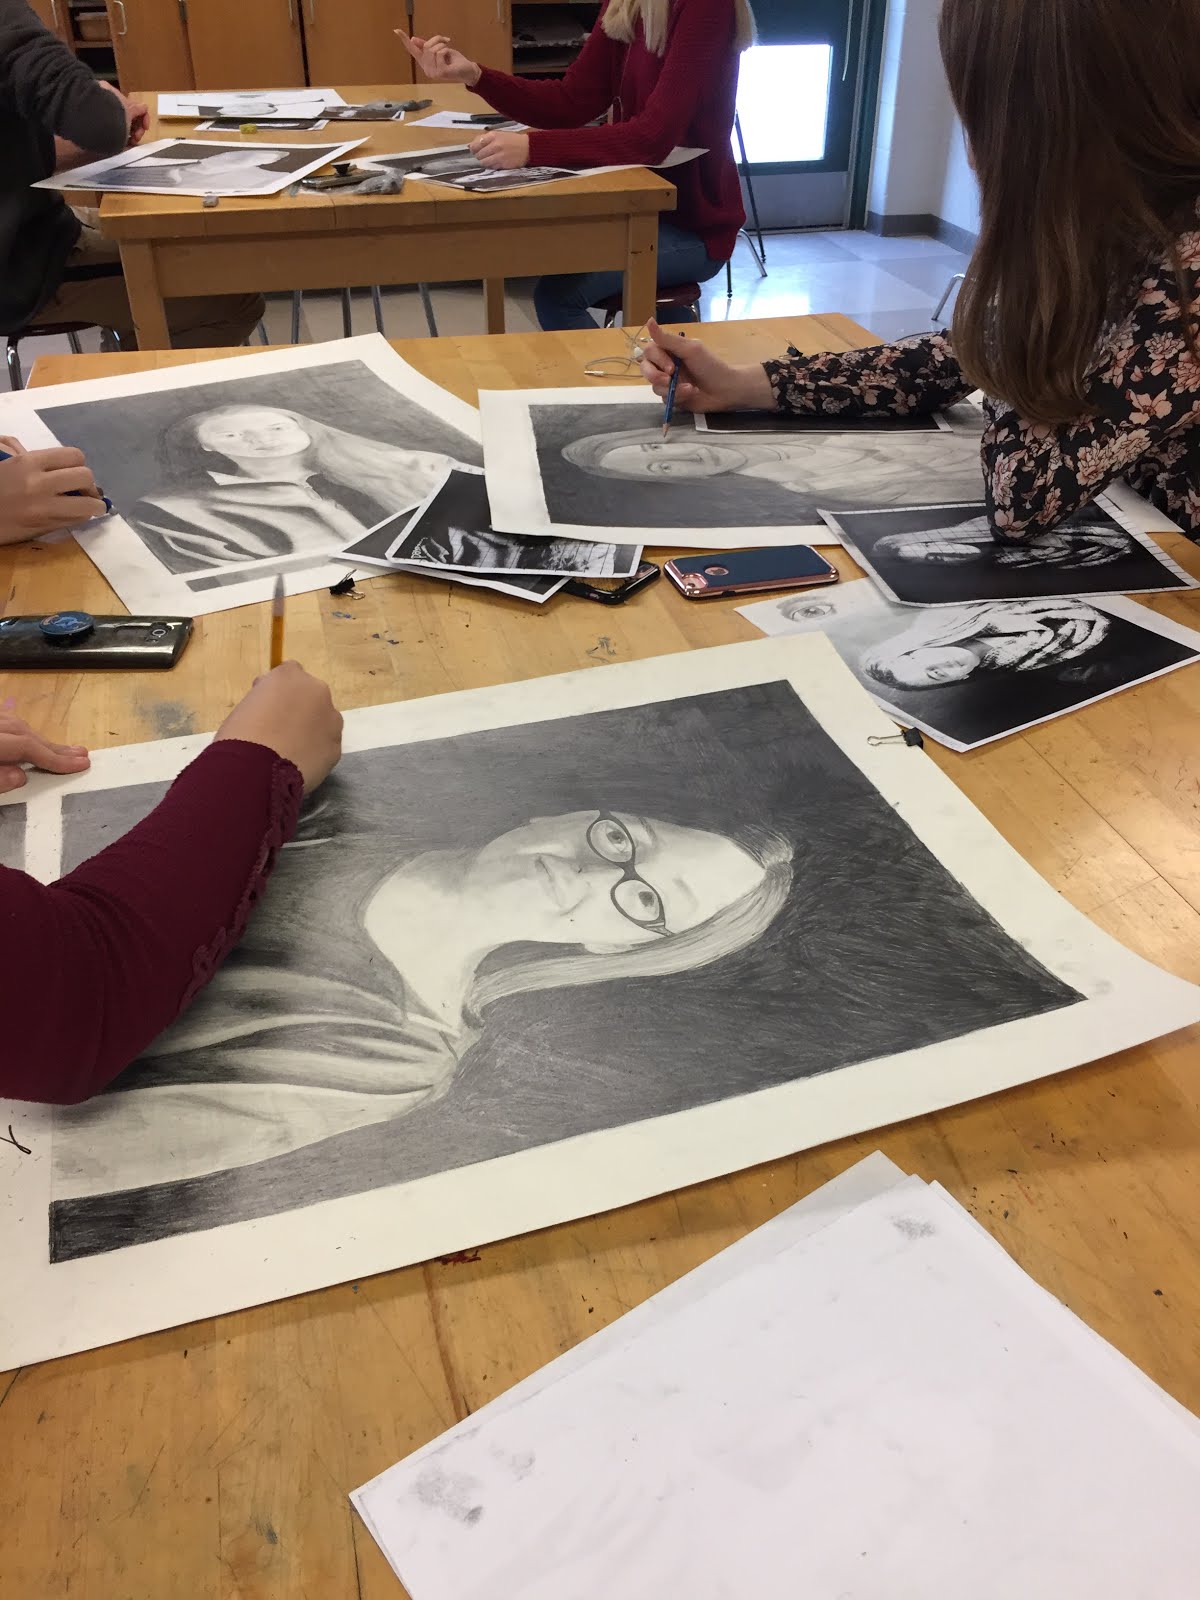 Once we made this discovery, Mrs. Hogan had her students in Drawing class take a picture of their self portraits that they were working on and view them with the headsets. It was interesting seeing students stare right at you when you put the headset on! Very cool. (We have some very talented drawing students for sure!)
