
There are a couple of tools out there that help with creating brochures or infographics from pre-made templates. Sometimes, it might make sense to create a similar product in Google Slides. This could be because you might need the ease of collaboration. Sometimes it might be due to the fact that your district does not have a signed agreement with the edtech tool. Regardless of the issue, if you find yourself in a situation where you would like to use Google Slides, don’t assume students know how to use the tool beyond adding a slide, adding text in a textbox field, and grabbing pictures
Recently, our 9th grade humanities teachers wanted students to work collaboratively to create a brochure. Doesn’t really matter what the topic was as this could be adapted in any curriculum. What I wanted to focus on was helping make sure students knew how to be creative and manipulate their content to fit the brochure appropriately. Yes the information curated was important for the task at hand, but in my mind, it also needed to look visually appealing that someone would actually want to learn from.
Support Slide
A one page Google Slide presentation was shared with students to access the information that they needed. You will see on the left side, different templates were provided for groups to choose from. On the right hand side, short video resources were shared to help students understand how to do a particular task if they didn’t remember from class. To view, click HERE.
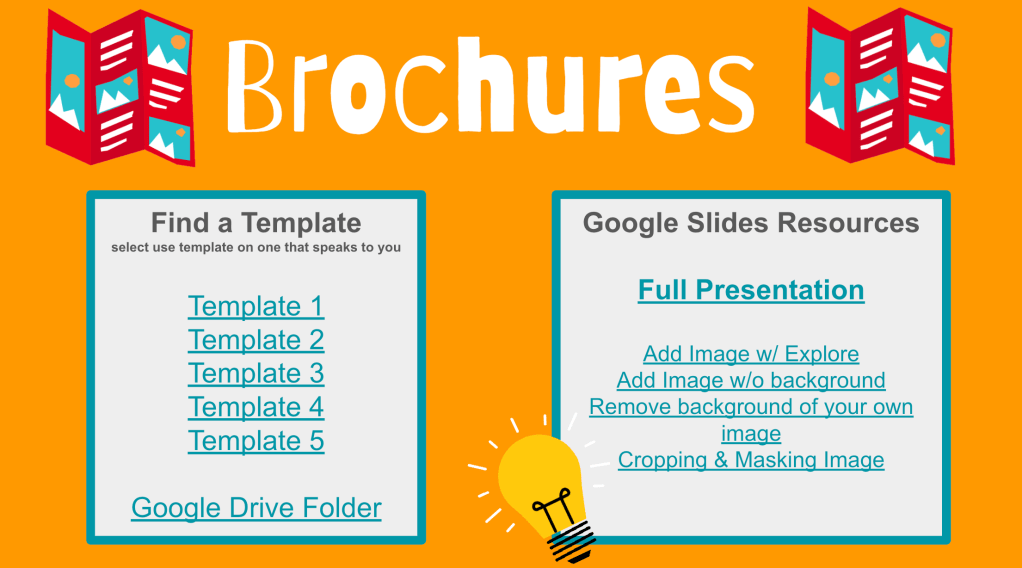
Providing Templates
Just as students would in a tool outside of google, we wanted to give students an opportunity to select a template brochure of their choice. We provided five different templates that allowed them to make copies from.
Teaching Skills
This was the perfect opportunity to show students how:
- Change the color scheme of shapes
- Use the explore feature right in Google Slides to eliminate the need of searching in a different tab/window
- Replace images on template to images about their content
- Crop and mask an image so that they only see part of the image they want OR to eliminate dead space or white space
- Search for icons (We talked about how icons can sometimes be more powerful and appropriate than just finding an image for the sake of it. We talked about how to add “vector png” after the word to help get us icons without backgrounds so that the icon looks more visually appealing)
What I liked about this lesson was that both teachers and students learned how to work with a tool that they have used many times before in a different manner. Several skills were shared that will be used in future lessons/activities. It was another case of “users really don’t know what they don’t know”.
If you have any questions or want to know more about the skills showcased, feel free to reach out.
And that is my Spiel…
