 This past week, I was reminded, from time to time, we have to unlearn what we have always done in order to learn and improve. Sometimes this can be difficult to do. You have always done something a certain way…why would you want to ruin what is ‘good’? However, sometimes change can be for the better. Sure it might take you awhile to get used to doing something new, but in the end you will see the benefits and progress.
Unlearn to Learn
Here is my recent journey of having to unlearn to learn over the past week.
I help manage our school’s social media accounts. Whenever something needs to be posted on Instagram, I think to myself:
“What picture do we already have that I can use that relates to what needs to be shared?
“What picture could I take around the building?”
“Who can I ask that would have an image of…?”
There have been times in the past where I have thought,
“Well, I don’t know what I would use as a picture so I don’t know if I am going to post it on Instagram. Instead, I will just post it on the school’s Twitter and Facebook accounts.”
You probably already know what the problem might be with the last statement. Most of our students live in the Snapchat and/or Instagram worlds. They might not see what is shared on Twitter or Facebook.
Posting to Instagram
“Traditional Method”
Let’s say that I have already have the picture that I want to use for Instagram. In many instances it is a picture that was sent to me by mail. I would either need to send the picture to myself and open up the picture on my phone to post on Instagram, or I would share it to my drive. Sure that is a lot of steps, but hey, it is what I have done in the past.
“New Method”
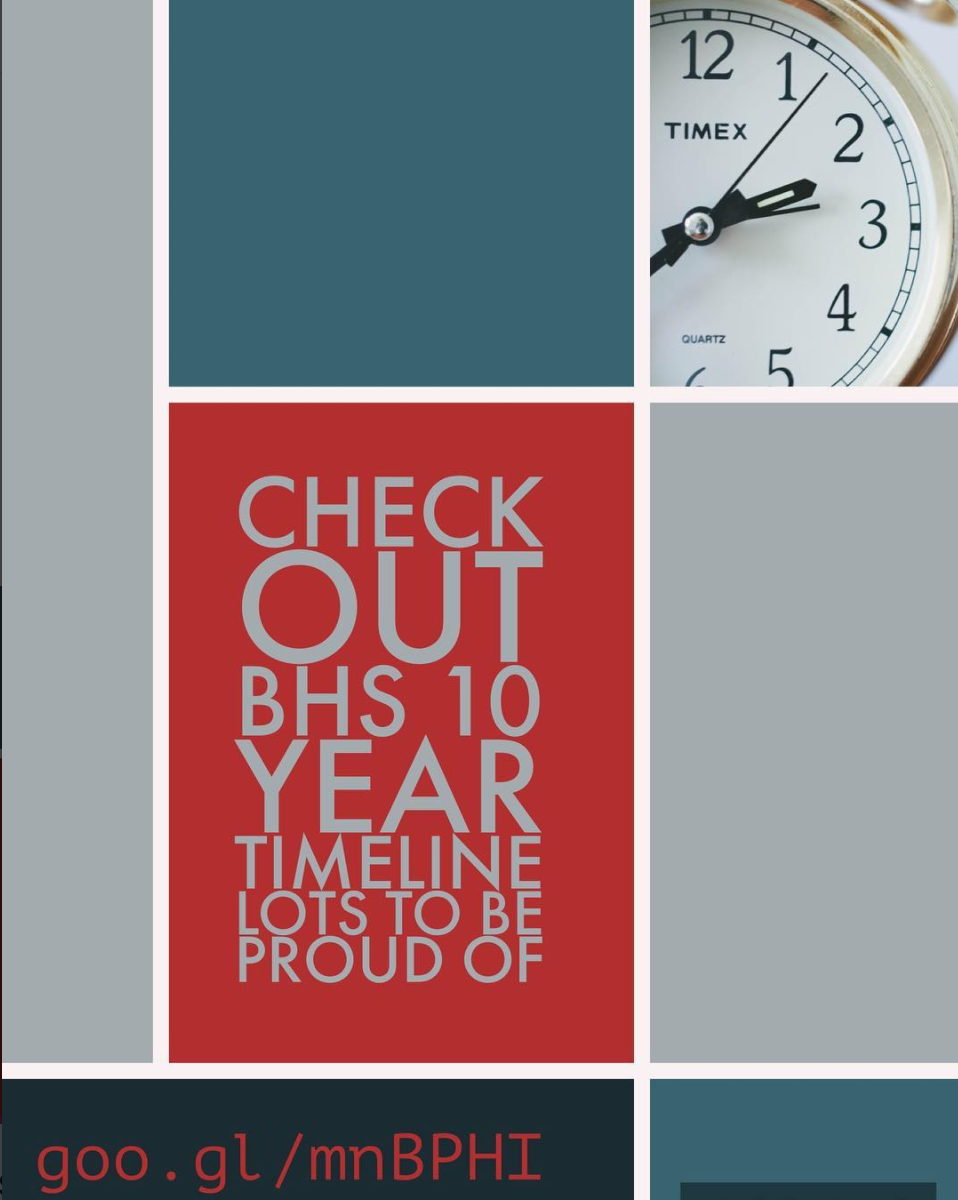
I realized I should be using my phone to help me be creative in sharing information with the community. For instance, our school is celebrating turning 10 years old. I needed to find a way to share ‘text’ information in a visual format. Sure I could type all of the information under the image, but I didn’t really have a ‘good’ image that related to the content.
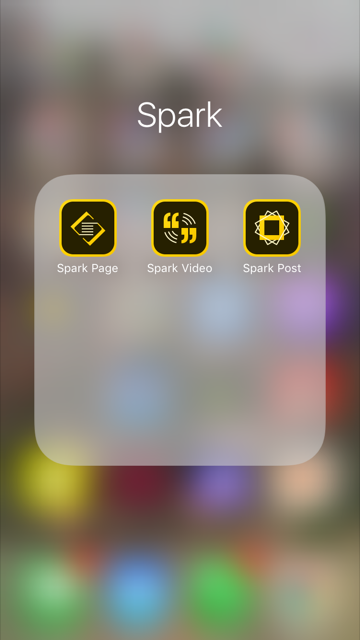
It dawned on me that I really should push myself to try out Adobe Spark Post Mobile app. I have used the web version of the application but hadn’t really tried the mobile version. To my surprise, I discovered that there were some great features in the mobile version that I had not seen on the web version.
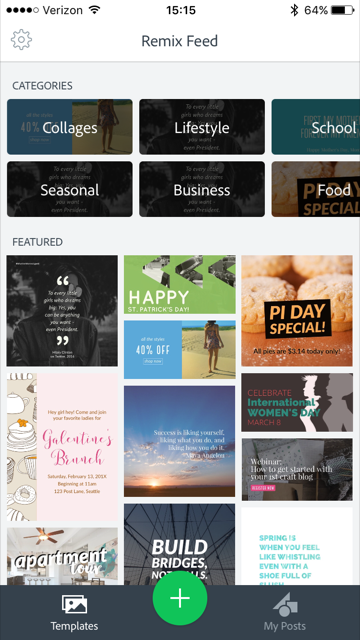
Once I opened Spark Post, I discovered that you can ‘remix’ a spark post that some else has already created. I remember a colleague of mine, Mary Marotta, shared this information with me but I did not know what she was talking about until I actually used the app myself. I like the fact that I did not have to start from square one. Remember, I needed to share information through Instagram but I really did not want to spend more than 10 minutes to complete the task. I immediately scrolled through the ‘school’ category to see if there was something useful.
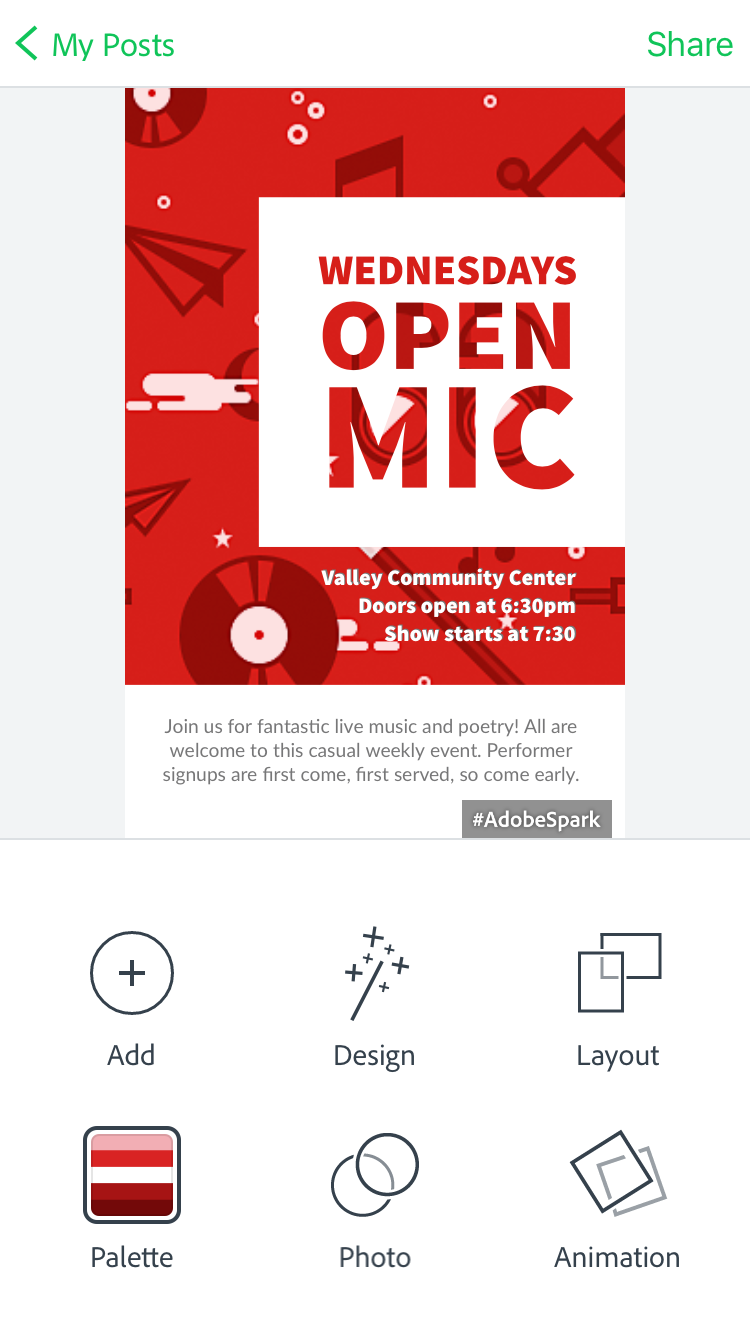
The Spark Post that I decided to use was an ‘Open Mic’ theme post. I decided to keep the background color and theme. The only thing that I changed was the text and content in the original Spark Post.
Below is what I ended up creating and posting to the school’s Instagram account.


How and what I am using to post content to Instagram is not necessarily THE way to post to the social media platform. For me, realizing that I might want to change the way that I had ALWAYS posted to the platform might not always be the way that I want/should post. It is important from time to time to unlearn what you have always done to learn how to do the same task differently.
As always, if you ever want to chat about this idea, you know where to find me. And that is my spiel…