Breaking Out with Co-Worker Collaboration: #BreakoutEDU


(I am embarrassed to say that this blog post was supposed to have been posted 2 months ago. Time just got away from me but still wanted to share and reflect on a great activity.)

In the spring of 2016, I attended a conference at Medfield Public School District where I experience Breakout EDU for the first time. After a short 45 minutes, I was HOOKED as I had a blast participating and could not wait to help bring it to BHS. If you have never participate in a breakout before or you want to learn more about the concept, watch this short video from the company itself.

In talking about what team bonding experience teachers should partake in this year on the first workshop day of the school year, it was determined that we should give #BreakoutEDU a try. So in a collaborative team effort, Zanna Blaney, Dean of Students, Jessica Gilcreast, librarian, Bill Hagen, Principal, and I, as well as other Bulldog team leaders (known as the Decade Dogs), we were able to pull off seven simultaneous Breakouts for the whole professional staff to participate in.

Preparation

Three of us met over the summer to determine what task we wanted the staff to participate in. We decided to use one that was already made, even though we thought it might be fun to incorporate our high school’s history into the activity since we were going to celebrate our school being open for 10 years. The game that we used was called Time Warp. We did this for a couple of reasons…it was geared for adults, the theme was generic enough that all parties would be able to participate in the breakout, and the size of the group was large enough (we needed to split up around 120 people into 7 groups).

Supplies
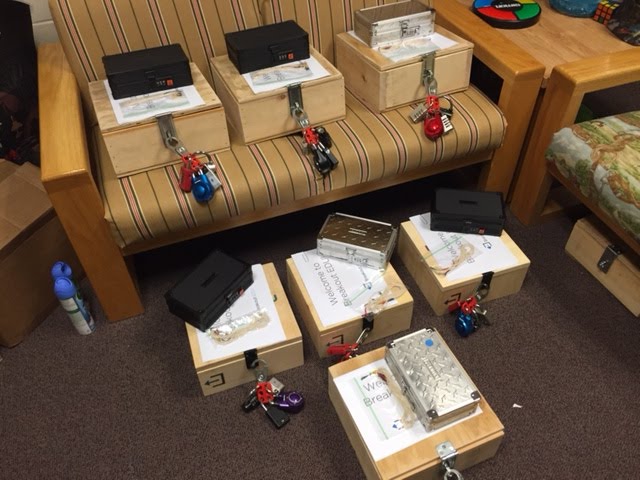
Jess Gilcreast had to determine what items needed to be purchased in order to run 7 different breakouts at once. Jess quickly discovered that the items were easy to find in Amazon due to many other people thinking the same thing…just buy it on Amazon. Jess had purchased two breakout boxes at the end of last school year and we were able to coordinate with another school in the district to borrow some of their supplies from their breakout boxes. We were also fortunate enough that our principal had some left over wood at his house and was willing to create 5 additional boxes for us.

Once all of the supplies arrived and the necessary papers were printed, we then put the boxes together. Must say, this took a bit of time, especially since it was our very first time doing this. We also double checked things worked since there were going to be seven different groups running at the same time. What is extremely helpful though is that for every game, there are written instructions as well as a video that help walk you through how the game is run, with the combinations to the locks. Very helpful!

Breakout Day

On the day of the breakout, we set up the seven rooms that were being used for the games and explained how the game was going to run to our other team leaders. A demonstration of where the clues were and why they worked/were connected with each other was explained.

Then the entire professional staff met in the theater. Since they had no clue what they were doing (or even knew what was up our sleeves), we showed the following video. We wanted to make it fun.

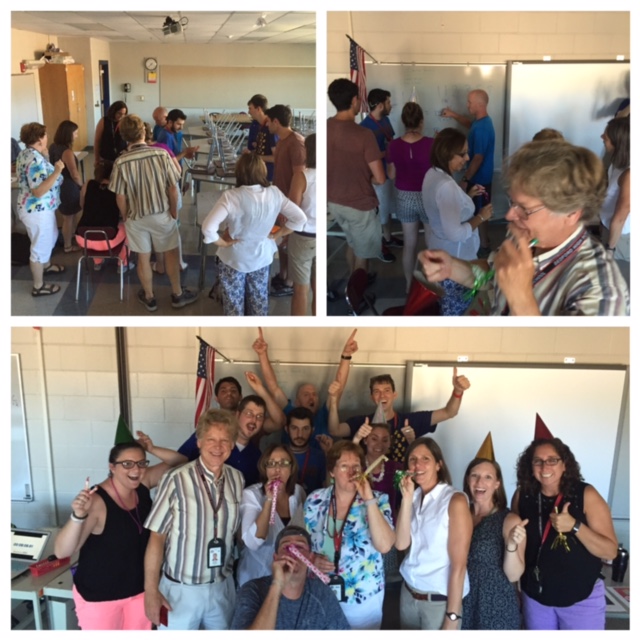
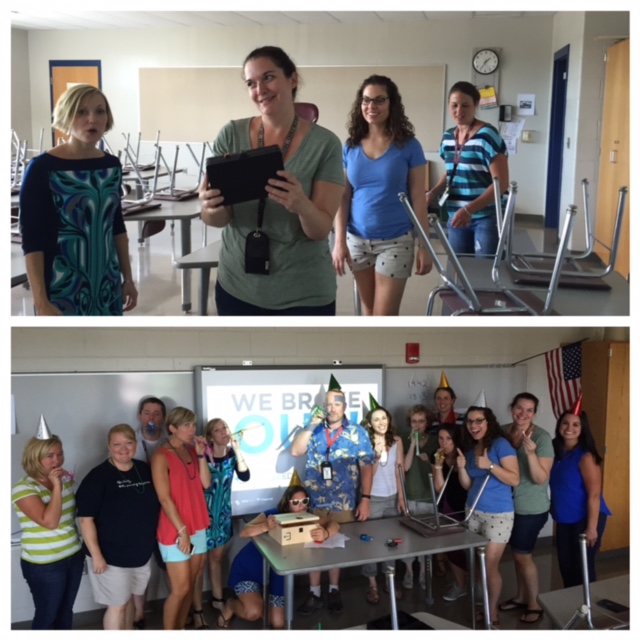
We then followed up with some more directions and broke staff up into the seven groups (thanks Zanna). The groups went to their designated spots and the game started. Once the staff broke into their box, they found some celebratory items to wear (celebrating the school turning 10). We all then meet back in the theater to talk about the activity as a whole group.

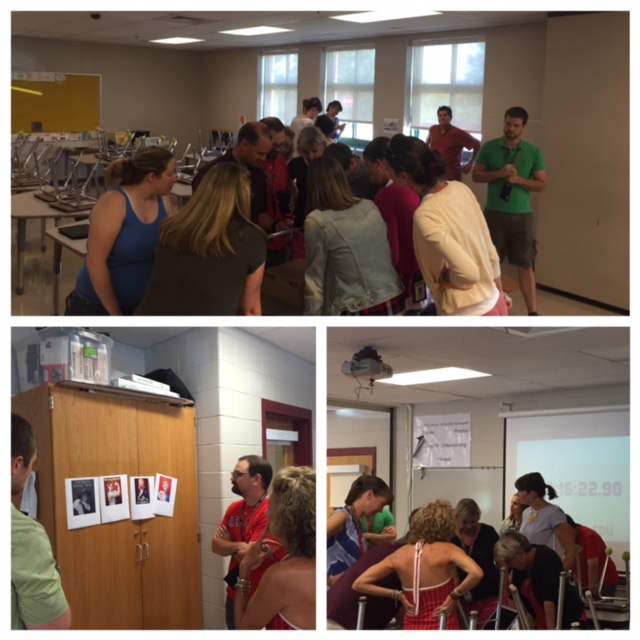
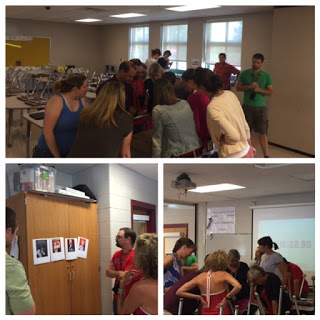
Below are some pictures from a couple of groups while they were trying to breakout.
Tips

  • If classrooms do not have much on the walls to distract people, print additional things to help cause some confusion.
  • Make sure staff whose rooms that are being used are assigned to a completely different classroom so that it is not too easy for them to find clues.
  • Split up your teams and make sure they have cross-discipline representation. Make sure administration is also included in the activity.
  • Have fun.
  • Make sure all team leaders have each other’s cell phone number and group text each other. This way, if someone forgets something, they can quickly ask the other team leaders to make sure that the game is run correctly. This was also a great way to know what teams have solved what clues – great motivator.
  • Did I mention that you need to have fun?
In closing, it was well worth the money purchasing BreakoutEDU. As a team leader running one of the breakout games, it was really cool to see staff that I work with in a different light. True collaboration was happening in front of me.

Now, when staff want to use the game in their classes, they just let Jess know and she signs out the items to the teacher. It is also important to note that there is also a digital version of BreakoutEDU. It can be found here. Highly recommend all educators have an opportunity to participate in at least one Breakout. So, when are you going to collaborate with your staff or let your students breakout in class?

Chromebook Challenge #hyperdoc

Inspiration
Inspiration #1
Over the summer, I was introduced to a new term/concept known as a #hyperdoc. You might say well isn’t a hyperdoc just a Google Document that has hyperdocs in it? Well, the answer is no. A hyperdoc is a document that has links to other artifacts, videos, articles, games, reviews, etc. Through these links students learn about a concept as well as share their own learning and thoughts with others. To learn more about #hyperdocs, and the work that Lisa Highfill, Kelly Hilton, and Sarah Landis have done, click HERE. I decided to make an attempt with creating a Chromebook challenge hyperdoc (even though it leans more on the side of students mostly learning information and not sharing as much information).

Inspiration #2
I was inspired to produce a Chromebook challenge after hearing about how Lee’s Summit R-7 School District created a Chromebook challenge for their students. Their great resource can be found on their technology website HERE. What I like about what they accomplished is that depending on the grade level, different tasks/reminders were given to the students.

Designing the Challenge
Seeing as though this is our second year as a 1:1 Chromebook school, I thought it made sense to do something similar at the high school level however I tried to gamify it a bit. I tried to keep the design of the challenge in mind when creating it as I did not want students to just watch a video explaining everything. I also knew I wanted to make it interactive and include some teachers in the challenge to put a smile on students faces. I also wanted to make it as easy as possible to follow along.

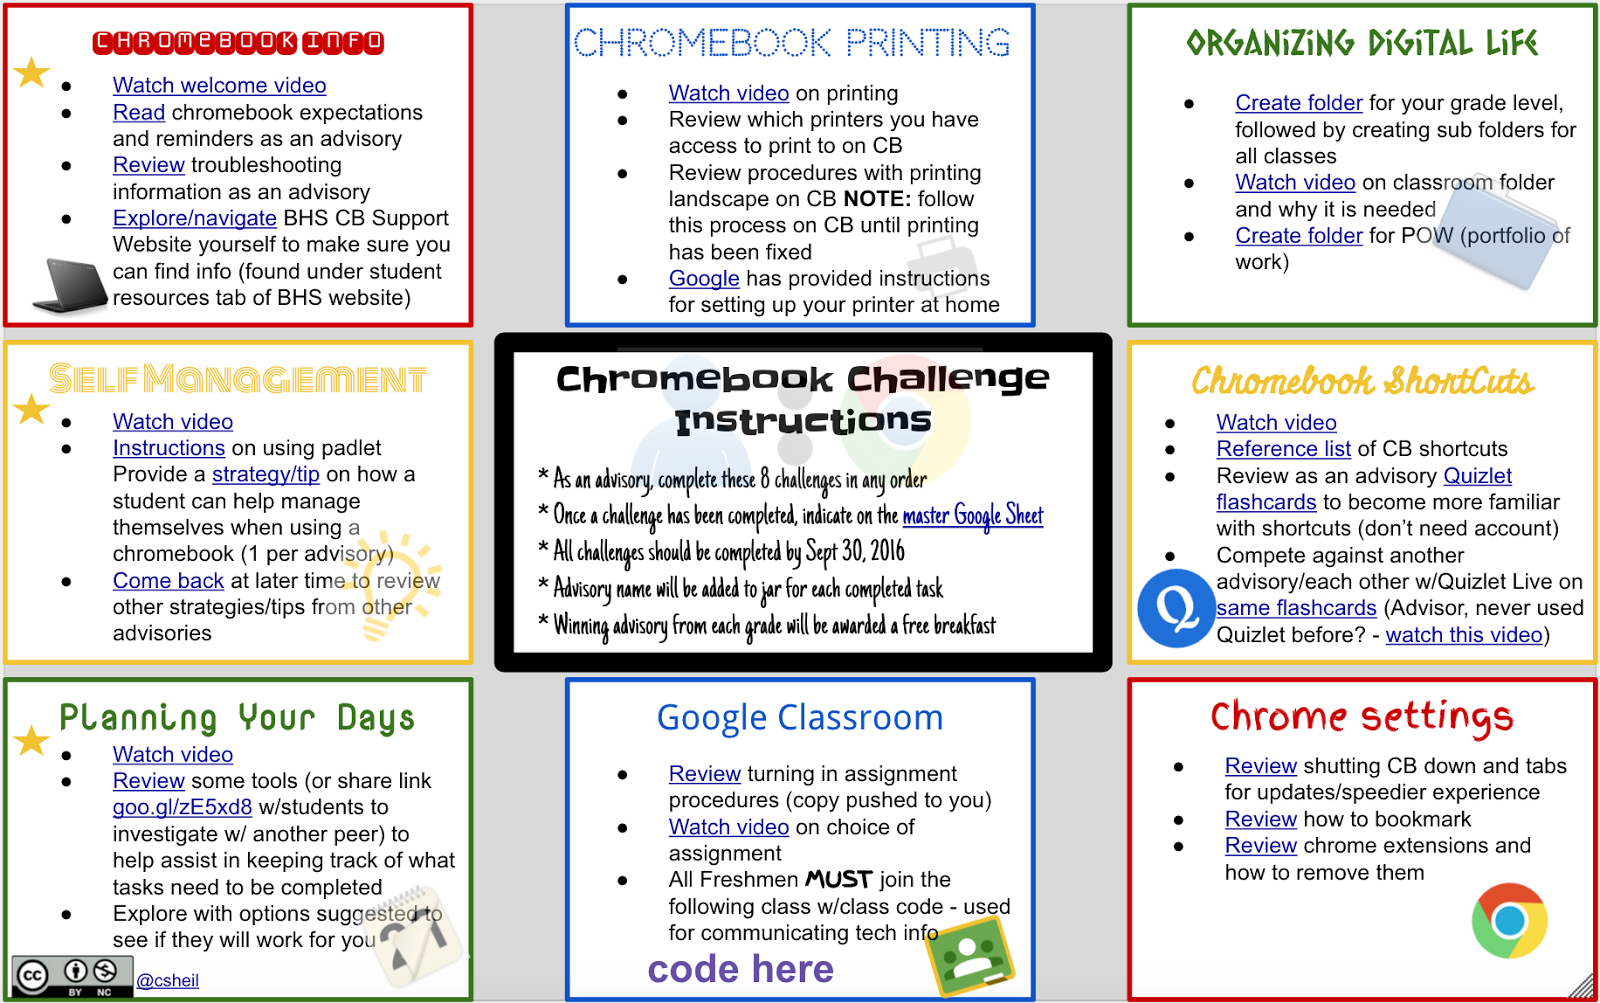
BHS Chromebook challenge was created using a Google Drawing. You can find the actual file HERE. You will notice that there are 8 different tasks for students in advisory to complete.

  • Chromebook Reminders
  • Chromebook Printing
  • Organizing Digital Life
  • Self Management
  • Chromebook Shortcuts
  • Planning Your Days
  • Google Classroom
  • Chrome Settings

The advisor decides the order of the tasks that they complete as a whole group. Whatever the task, the advisor follows along with the bulleted list. Tasks could involve students:

  • watching a video or two
  • looking over instructions in a Google Slide
  • playing a game
  • providing feedback in a padlet wall
  • organizing their own Google Drive
  • personalizing their own Chrome preferences
Documenting Tasks
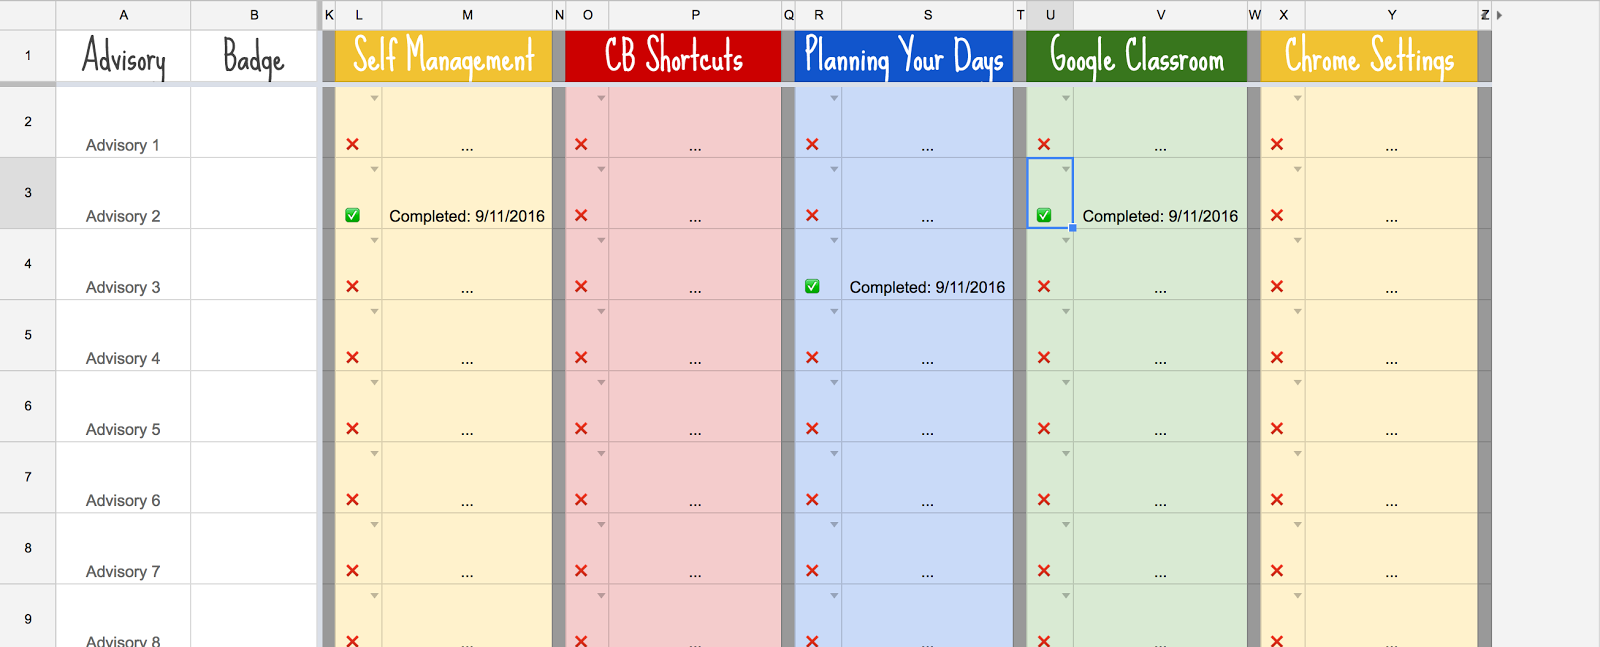
Once an advisory completes a task, the advisor clicks on the master Google Spreadsheet link in the middle of the Google Drawing. This is where all advisors keep track of what has and has not been accomplished. The advisor finds their name and the turns the ‘red x’ to a ‘green check mark’. 
 
When all 8 tasks have been completed, the advisory earns a Chromebook challenge badge. Gamifying things makes learning that much more fun. 
As a side note, for every task an advisory completes, their name gets entered in for a free breakfast. There will be a winner for each grade level. Oh and the advisory has the entire month of September to complete the challenge.

Here is to learning while having fun at the same time…

Guardian Resource for Google Classroom Email Summaries

Some teachers at our high school have decided to turn on the Guardian Email Summaries component to Google Classroom. This resource was created to help further explain what Guardian Email Summaries are all about for parents/guardians to reference (if need be). This video is linked on the teacher website letting guardians know that they turned on this feature.

Graph My Math!: Coordinate Plane Templates

A math colleague of mine, Stefan Fritz, found himself in a situation where he constantly was in the need for customized coordinate planes for worksheets, activities, assessments etc that he was creating for his students.

With the lack of great resources out there, he decided to create his own website. How COOL is that? What is this website you ask?

graphmymath.com

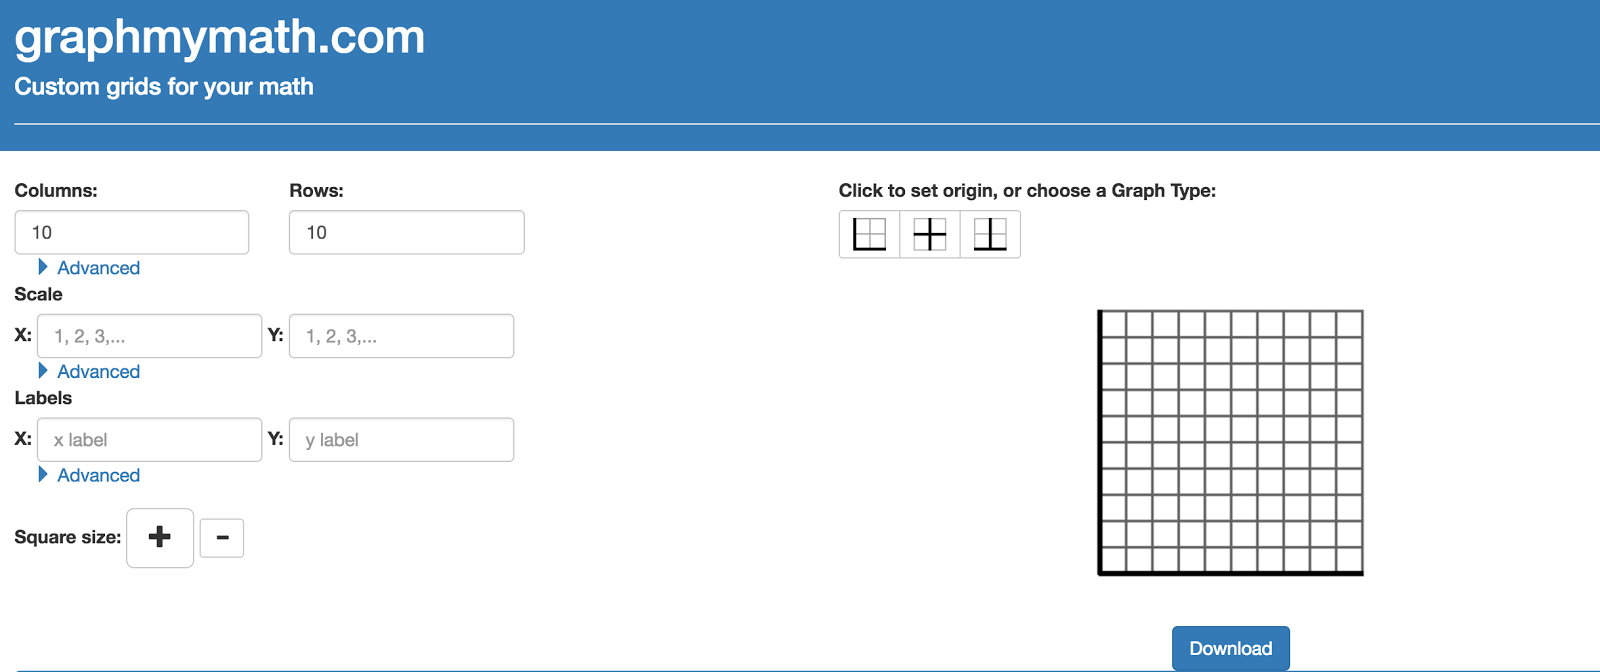
Here a user is able to indicate how they want to customize a coordinate plane to look:

  • scaling of x and y axis
  • labeling of the axes
  • layout of the grid
Once the user has their settings for the grid, they are able to select the download button. This file can then be added to a Google Doc or Google Slide, or any other product they wish. 
* NOTE: The downloaded file type will be a png file.
Big kudos to Stefan for solving a problem he found himself in and allowing other educators to benefit from his hard work in creating this great site!

Math Keyboard Shortcuts for Google Docs

Math teachers know that typing math notation in Google Docs takes a bit of work. Rachel Fairhurst, a middle school math teacher in the Bedford School District, created a Google Doc with a list of shortcuts for her students so that they can type math expressions efficiently and correctly without having to spend the time to find what they are looking for in the equation tool bar. A sample of shortcuts can be seen in the image below. To view the full list of shortcuts that Rachel felt were important for her students click on this Google Doc link.

The trick to getting started in a Google Doc is to open the equation editor in the Google Document under the insert window. There is even a shortcut to inserting an equation without the need of moving the curser to the insert window.

Chromebook Shortcut: Alt + I + E (Alt + I will open the Insert window. E then opens the Equation editor)

Mac Shortcut: Ctrl + Option + I + E (Ctrl + Option + I will open the Insert window. E then opens the Equation editor)

Demonstration of Using the Shortcuts

For example: If I am looking to typing the following equation in a proper math notation in a Google Doc

y=3(pi)x+5/8

I would type the following:
y=3\pi(space bar key)x+\frac(space bar key)5(tab key)8

For a better demonstration, watch this short view.

Big Thanks to Rachel for sharing this great resource for students!