Keyboard Shortcut for Providing Comments in Google Doc

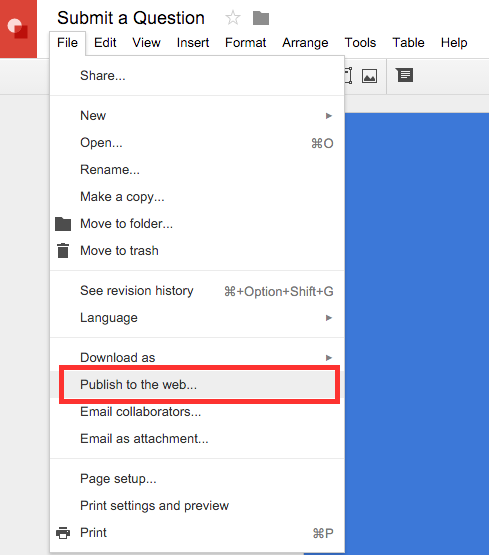
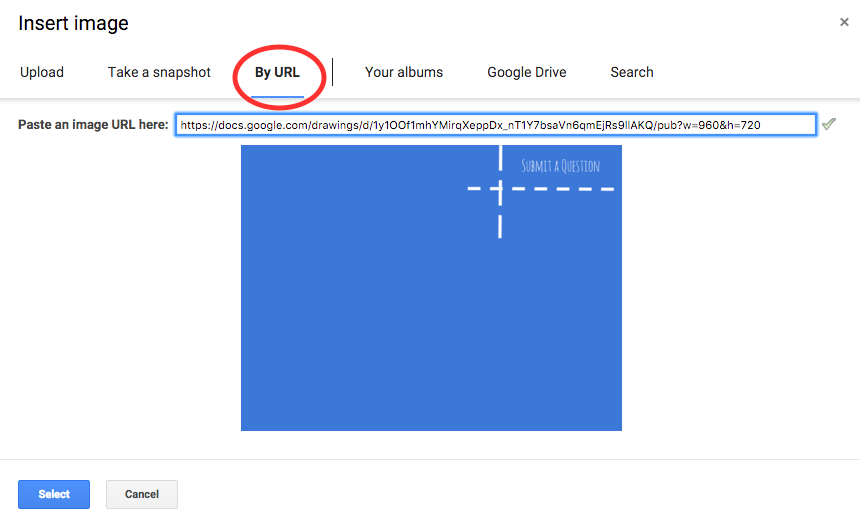
Last week, I attended a math workshop put on by Alice Keeler. One of her talking points is all about being efficient and using keyboard shortcuts to save time. We as educators only have a certain amount of time in the day to get work done. Let’s take back some of that time with using keyboard shortcuts. One way that this can be done is when we provide valuable feedback to our students through a Google Document with the commenting feature.

Keyboard Shortcuts:
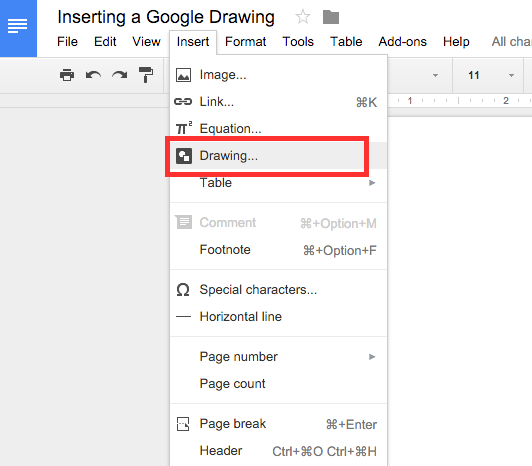
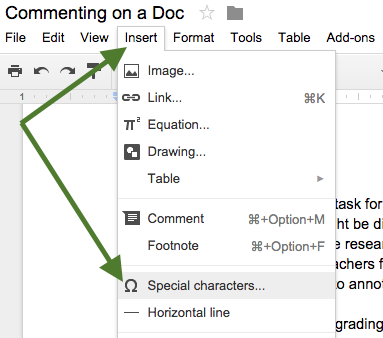
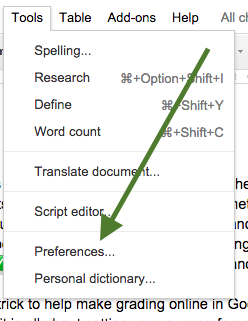
Most people know the shortcuts when it comes to copying and pasting text. Many also know the shortcuts for opening a new tab. You might be asking yourself, “Self…how do I find out what keyboard shortcuts are available while using Google Documents?” Have no fear! Google has provided a keyboard shortcut page, which can be found under the Help Menu.


*NOTE: The keyboard shortcuts that you see in the gif file above are for mac users as I recorded this on my mac computer.

Assessing/Providing Feedback on Google Doc
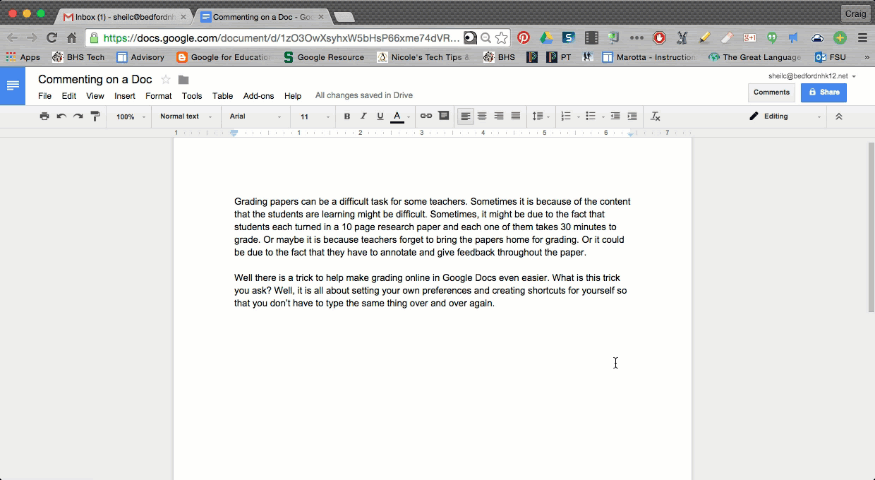
Assessing/providing feedback on a Google Document can take sometime, especially when you first start to venture in this direction. I have heard many say that it takes longer to grade online compared to the ‘traditional way’ with pen and paper. However, there are a couple of keyboard shortcuts that can help save you time.

STEPS:

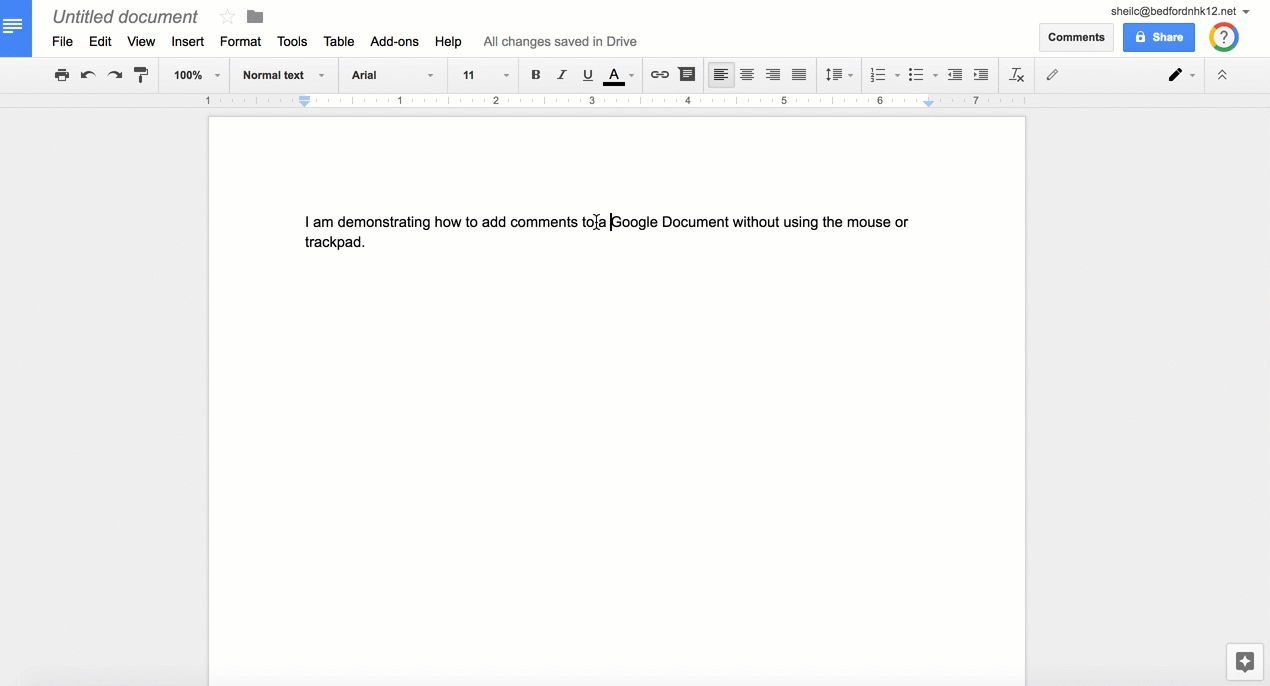
  • Place cursor where you want to add a comment
  • Use the following shortcut keys depending on the device that you have so that the commenting window will open on the right side of the Google Document:

Mac user: Command, Option, M
Chromebook User: Control, Alt, M

  • Provide your feedback
  • When completed with the comment, use the shortcut keys Control, M so that the commenting window will close

Close Current Tab

When you have finished providing feedback on the Google Document, don’t hit the x on the tab in Chrome. Instead, use the following keyboard shortcut:

Mac user: Command, W
Chromebook User: Control, W

This will automatically close the current tab you are on.

I know that this seems basic, but you might be surprised at how efficient you become with providing feedback the more and more you get used to the keyboard shortcuts. Don’t believe me…ask Jess Doyle as I know she has been using keyboard shortcuts for a couple of years now.

And that is my spiel…

Electronic Verbal Feedback w/ Read & Write

Last month, a colleague of mine, Donna Dennis shared with me an efficient way for a teacher to give electronic verbal feedback on student work. She was introduced to this idea at the Christa McAuliffe Tech Conference, I think it came from Jenn Judkins. I thought it was a very clever idea and wanted to share.

Instructions on how to get things set up and actually record comments can be found below in the Google Drawing below. However, in order to access the links provided in the Google Drawing, you will want to click HERE. In order to use this process, you must be using Chrome as well as the Read & Write chrome extension.

What I appreciate most about this process is that students do not need access to a separate account (through an add on, chrome extension, or google app). Only the teacher needs access to Read & Write to leave electronic verbal comments in a students’ Google Document. I also appreciate the fact that Read & Write will give an educator a free account if they do not currently have an account. Not only is the process extremely simple, it also forces the teacher to provide quick, short feedback as the default to voice comments is a minute or less. Just as we ask our students to think about their thoughts, it forces teachers to also do the same.

NOTE:
All voice comments that you leave can be found in a folder in your drive called “My Voice Notes”. Read & Write organizes these all for you.

When a student wants to play a recorded comment, they select the link provided and listen to the comment in a separate window.

Of course, if you have any questions or want me to work with you to get things set up, you know where to find me.

And that is my spiel…

Commenting in Google Docs – Notice the Change?

Google has made it easier for you to enter in a comment in a Google Document. I noticed that we actually received the update today in our school domain. Check it out in the gif below:

STEPS:
1. Highlight the text
2. Select the Comment button on the right side of the Google Document
3. Type in your comment
It is that easy.

Using Your Own Google Drawings as Images in a Google Doc

From time to time, we all have wanted to include an image or picture of something in a Google Document. Google has made it very easy to make this happen.

  • Drag and drop an image anywhere on the Google Document
  • Insert an image by URL
  • Search ‘free to use’ images from Life and Stock Images databases
There are three ways to include a Google Drawing you have made in your Google Document. The most obvious method is just taking a screen shot of the final version of the Google Drawing and inserting it in the Google Document. The only disadvantage of this would be if an edit was made to the drawing after the screenshot was taken. An updated screenshot would then have to be inserted on the Google Document.

Below are two different ways an ‘always current’ Google Drawing can be included in a Google Document.

Inserting a ‘Non-Existing’ Google Drawing
STEP 1:
Place your curser where you would like to create your Google Drawing. Then select Drawing under the Insert menu.
STEP 2:
A drawing pop up window will appear for you to add your content. Once you are done, you will then hit the Save & Close button. It is important to know that a separate Google Drawing file will not be created since you are making this ‘drawing’ in the Google Document. You also cannot grab a pre-existing Google Drawing this way.
**NOTE: You are able to made edits to your drawing after you have saved it to the Google Document. To do this, double click on the drawing and the popup window will reappear.

Inserting a ‘Live’ Pre-Made Google Drawing

STEP 1:
Open the Google Drawing that you want to include in your Google Document. Then select, Publish to the Web under the File menu.

STEP 2:
Select the blue Publish button. This will provide a link that will be available for anyone in the world to view.
** NOTE: You do have the ability to restrict who can see this information under the Published content & settings drop down menu at the bottom of that window.
STEP 3:
Copy the provided link.
** NOTE: You have the ability to stop publishing your file, however if you ever choose to do this, you would loose the linked Google Drawing in your Google Doc.
STEP 4:
Select Image under the Insert menu and paste the link to the Google Drawing. Your drawing will then be embedded in your Google Document.
As always, if you ever have any questions – you know where to find me. Happy Drawing…

Customize Your Feedback in Google Docs

Earlier this year, I provided a blog post on how you can create shortcuts in Google Documents so that you are not wasting time when providing valuable feedback to your students. To read this previous post, click HERE.

Last week, Mr. Geddes, came to Kerri Lunn and I asking how he can mimic a way of providing feedback he has done in the past by hand. He wanted a way to provide a check mark, like he would have with his pen as a means of agreeing with the statement the student shared. At first, we did not think it was possible until we looked further.

This is what we came up with:

STEP 1:
Find a check and an x that you will want to use to insert in a Google Document. To do this, open up a blank Google Document. Then choose Special Characters – found under the Insert Menu.

STEP 2:
Use the draw symbol box on the right hand side to find what you are looking for. You will notice that we drew in a check mark. Then, choose the green check mark so that it can be seen easily in a student’s paper. By selecting it, it will be inserted on your blank Google Document.

We did the same thing for finding an x to use.

STEP 3:
Copy the inserted check mark on your blank Google Document so that the shortcut can be created. To do this, click Preferences under the Tools menu.

We had Mr. Geddes type gpp (representing good point). This means anytime he types the letters gpp when providing feedback, Google will automatically replace it with a green check mark. You might be asking, why gpp? We did this so that incase Mr. Geddes would ever type the letters gp together it would not produce a check mark. By adding gpp, we have eliminated possibilities of those letters ever being together.
Once you type gpp in the replace box, paste the green check mark you copied from the blank Google document. Then hit the OK button. 

STEP 4:
Repeat step 3 for the red check mark. This time, we had Mr. Geddes use wpp as the shortcut for the red x to appear.

STEP 5:
Open up a paper that you need to provide feedback on and use the shortcuts that you have created.

Note: Once you create a shortcut, they will always be available to you.

This solution may not solve all situations you might be used to/faced with when grading physical papers but at least this shows you possibilities that are available with assessing in Google Documents.

If you have any questions, feel free to ask – you know where to find me. As I have already tweeted out, we thank Mr. Geddes for pushing us. It is all about learning!